MHVSA (MHV Space Agency)

@mon try using something like Cura or Slic3r (if they are configured for the printer)

I usually rock with Slic3r, and my only complaint is some of the gcode it outputs is erm… a bit… errrrr… stupid :smile: Like doing a curve, then warping to the otherside of the print, doing another curve then warping back, instead of doing it in one big smooth curve

But I am yet to get any other slicer to work on my printer, it just results in the hot end spewing filament everywhere and super over extruding :confounded:

So my printer is currently out of service, pushed it too hot and the acrylic warped a bit. Going to have to relevel and recalibrate the printer as my parts haven’t arrived :cry: (metal Y carriage and a Wade extruder so I can use all of my 200mm x 200mm). It did appear to kinda sorta come good but still a bit sketchy.

Hopefully be printing tomorrow :slight_smile: maybe even sooner

2 Likes

I actually think there was some kind of extruder/blocked nozzle issue…

I was using cura, and it was making the right movements on the heat bed, but the filament wasn’t feeding in.

Arghhhhhh, 3d printing is not for the impatient! :stuck_out_tongue_winking_eye:

1 Like

Yush definitely not for the impatient, I finally got my 3D printer working again. appears that there is a 0.1mm bell in the bed (who knew, 3mm glass is quite flexiable) and slic3r let me down

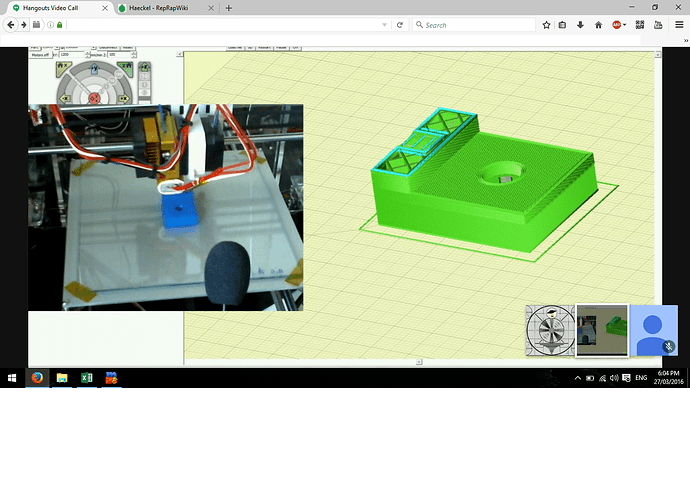
Though with the magic of Cura, I is printing now :slight_smile: currently printing a torture print, has two badly placed bearing holders, one with the bearing on the bottom, the other with the bearing on the side, forcing a supported overhang print, will post pictures of how I go.

Its a two hour print, its dinner time, so I decided to setup a baby monitor via google hangouts :laughing:

It’s a shared google hangout so hopefully the print finishes before anyone wakes up hehehehe because my volume is turned RIGHT UP so I can hear the printer, turns out my noisy microphone is pretty deaf

The print is currently going along nicely, hoping to get a full day of MHVSA printing in tomorrow

So I rock a glass bed, and as a result i have an offset. Sadly, Cura doesn’t support Z offset… so to force implement it I added a little gcode hack :cat:

G28 ; home all access
G0 Z2.3 ; move to z
G92 Z ; Zero Z position

I also did
G0 Y15 ; allow for the offset from glass plate
G92 Y ; Zero Y position

So that prints are in the center of the glass, thus making my 3d printer hump more “consistent”

Scary thing is, without calibration, the Cura “filament estimation” is pretty close to on the money

Is there a meet on on Tuesday?? I might take the car to work then so I can drop off what I got

2 Likes

Awesome work Max, yep I’ll be opening up to panic about SatNOGS stuff :smiley: I’m basically waiting on parts, hopefully I can start staring at the mess of Rotator bits to begin attempting assembly later in the week.

1 Like

Okies coolies, I will bring in what I have, hopefully more than a small handful of parts

The final outcome of the print was “hmmm, interesting” the bearing on the bottom (which is painfully unavoidable without trading evils for the vertical rounds, which are a nightmare), with some cleanup, it came out perfectly, though didn’t want to push the bearing all the way through as I do not have a bearing extractor (its a SUPER TIGHT fit at 22.3mm)

The side on bearing… well lets just say, I sure hope there is such a thing as a 22mm hole borer :stuck_out_tongue: it sagged alot, even with supports, leading me to believe my Z axis is a little screwy, which isn’t a major issue, unless I print tall parts.

Thankfully for tonights major print, I am not going to be rocking a direct extruder any more so I can use the internal hole for the filament feed :smile:

I have a nifty little piece of kit on order, a dial indicator, commonly used by machinists to ensure their workpiece is centered when using a 4 jaw independent on a lathe. Not sure what else it could be, its quite bad with or without supports so I suspect its the Z axis being ever so slightly out, causing accumulative error.

@csirac2_

Printer is getting difficult again :frowning:

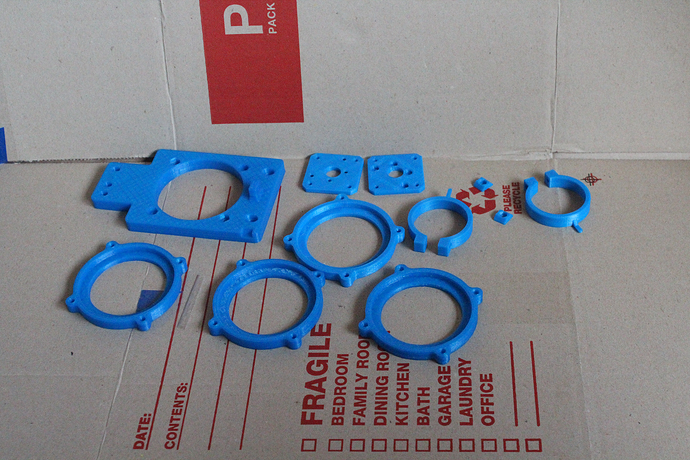
But here is what I’ll be bringing along tomorrow :smile:

Still need more of those axis_side_* parts, they’re 3-4 hour prints and really push the paitence of my printer (seems like the long prints cause it to play up

2 Likes

They look fantastic! I hope the bearings arrive soon :}

I’ve received a bunch of bearings, extruded aluminimum, steppers and other miscellany now. Things can start to get exciting very soon! Here’s our current, amazing collection of 3D printed rotator parts thanks to @ian and @mbainrot:

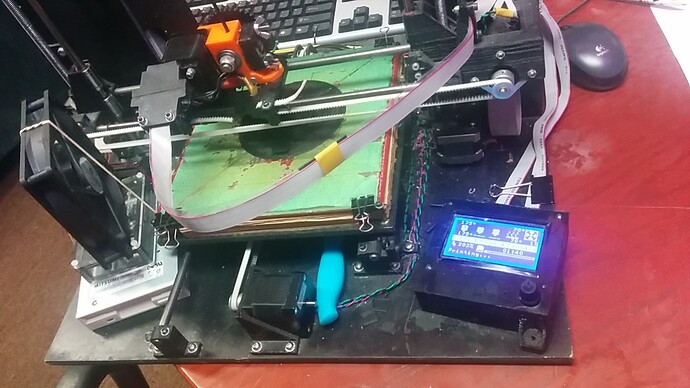
Along with a snap of @Ian’s awesome beast of a 3D Printer hard at work doing even more parts in ABS:

This level of progress wouldn’t have happened without everybody pitching in to help, thanks again!

3 Likes

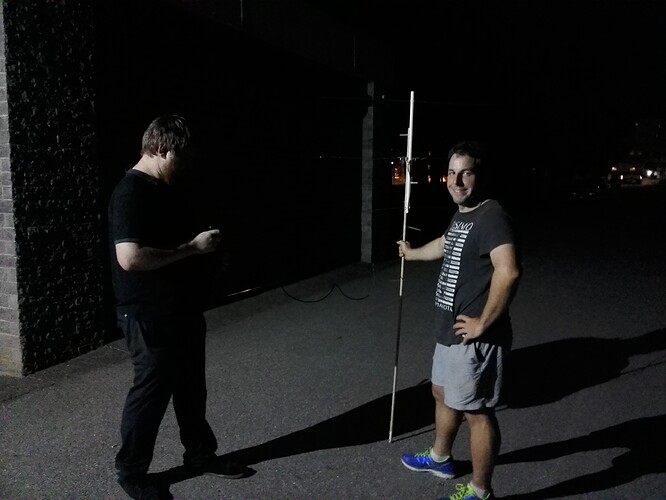
Playing night time radio operator.

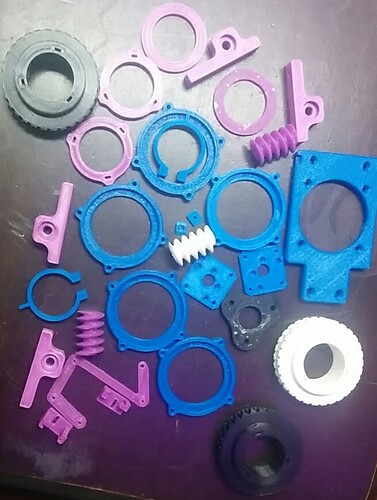
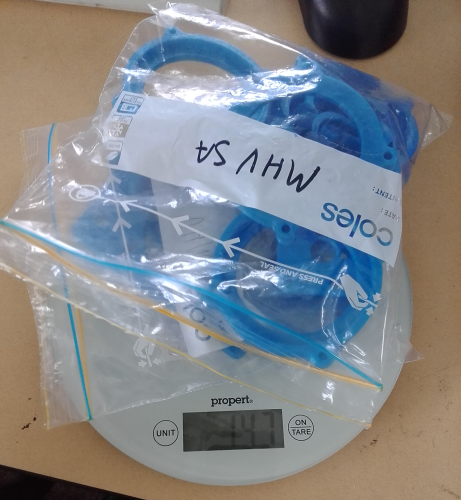
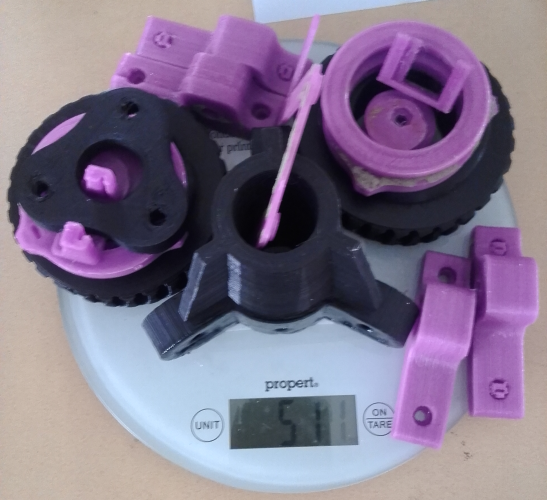
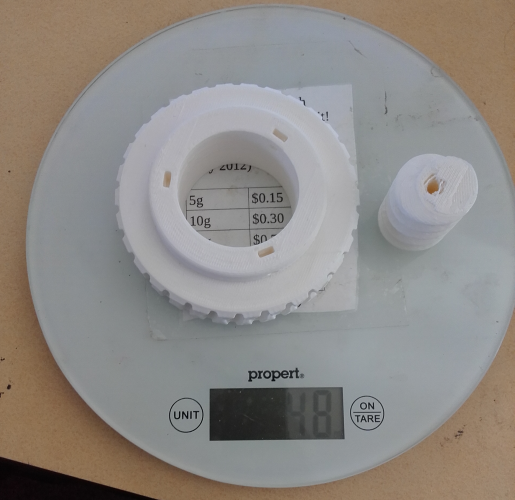
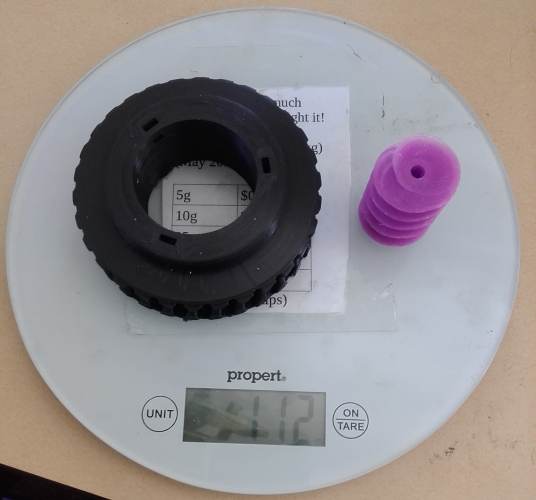
Also with the tripod parts finished, out of curiosity I weighed the second wave of (successful) printed bits.

Max - Blue

Ian - Pink

Mystery - White

Gears

1 Like

The difference in part weight is interesting. I wish the SatNOGS folks had any 3D printing advice at all… I had been wondering if this gearbox will stay together for long, but now I’m hopeful it will.

I know how to make it last longer. I have successfully recast 3D printed parts into other materials such as Aluminium and Epoxy.

We could do this if you wanted that. Converting the gear to metal is not that difficult.

1 Like

That sounds interesting! Is it a commercial process, or can it be done DIY? One thing about the plastic gears is that I assume they would eventually wear smooth; is it hard to get a piece smooth enough for metal casting? What finishing do you think would be required?

I’m going to build the current unit “to plan”, and will probably remake the helical antenna (it was put together with wooden dowel due to time pressures, and should be remade with PVC, and will probably eventually be remade with a crossed yagi as well).

When I did it before I used something like this:

Then sanded it back, put it in a silicon mold. I used epoxy to make my part but I’ve seen people using low-melt alloys. I’m keen to try that.

It would be probably be differences in fill density. I assumed mechanical parts destined for outside would need to be robust and made sure they printed solidly.

1 Like

I would also be keen to experience recasting printed parts.

There are plenty of aluminum cans from softdrinks consumed at the space. Maybe we could use some of them?

Come and discuss it at Electronics night this wednesday night. I’ll bring stuff from my shelf.

My son, a professional metal worker says that the best way to melt aluminum is with bbq-briquettes and a micro-foundry.

My parts where printed with my bog standard settings, specifically 3x wall layers and about 20% infill, varying with honeycomb infill to cross infill as a result of changing from slic3r to cura

Should be plenty strong hopefully

More parts arrived for me printer so hopefully I will get some progress tonight on raining stuff in.

King of random on YouTube has a good tutorial on making a DIY foundry that runs on coal or gas. He is American so the gas stuff might be a bit hard in cotton wool Australia. He also covers how to setup the casts with his method which is lost foam casting.

The forge is made with two cans (the inner can is removed, its purely a form) and a 50/50 mix of plaster of Paris and play sand. Would love to know whether this is a good idea or whether there are problems with the design.

For casting ally iirc we’ll need to oversize by about 11% as that is the shrinkage rate You’ll need to use natural pla ideally for the firing of the cast if we do what’s known as “lost pla casting” which as the name suggests is a lot like lost wax casting.

Prob a good idea to make sure actpg/act epa has no problems with it, particularly if we go down the coal route. Gas should be fine, though will need to see if two 7kw torch heads have enough bite to melt the ally any time this century, I’ve melted ally foil as a kid with a butane blowtorch but it took forever, granted it was a little toy blow torch compared to the ones I own now-a-days.

I have one the space can borrow, runs on LPG though purging the hose is a pain. (on the 500 watt nozzle it takes about 5 minutes to depressurize the hose, with the 7kw nozzle it takes about 30 sec or so to “burn out”)

Gas will definitely melt ally though as @clixx_io it’s prob cheaper/more efficient? to use coal and an air blower

With the cooler weather this would definitely be enjoyable vs doing it in the middle of summer

This is definitely something on my bucket list :smiley:

Ta,
Max

p/s sorry if grammar and formatting are a bit screwy, I replied via my phone which for some reason discourse didn’t like, so I had to copy and paste it and then fix the broken line breaks

1 Like

I think we should set up a new topic on 'DIY Aluminium Smelter" or if somebody wants to call it something better than that fine.

I’ve also seen the youtube video’s and they look ok to do - but let’s see.

Ok cool, I think I can make it Wednesday.

Hey @ian, sorry to ask yet another favour [!] If you’re bored in the next few days, I’ve accidentally somehow lost one each of @mbainrot’s parts [1] and [2] :smiley:

Also Max I’m terribly sorry… the other bits I haven’t lost, have worked well!

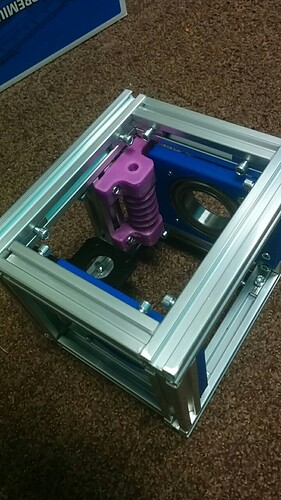
Progress, thanks to @Dexta_Bb

[1] https://github.com/satnogs/satnogs-rotator/blob/v3.0.1/rotator_parts/axis_side.fcstd
[2] https://github.com/satnogs/satnogs-rotator/blob/v3.0.1/rotator_parts/axis_side_sensor_holder.fcstd