Intro:

This project was a wooden sword for a friend with an interest in martial arts undertaken by me and Duo. It was intended to follow the style of a medieval arming sword; a single handed sword carried by knights. It features complete Australian hardwood construction with steel tang. There were a few flaws in the process and many possible improvements but the final product was still very nice. The entire build took 5 full days (with half the time spent doing working on other miscellaneous projects), two more if you include waiting on varnish to cure between coats. So considering the relatively short time it took (compared to our other projects) we’ve also decided to try making some more wooden swords which will get a post soon(ish).
Material, Tools and Equipment:
Tools and Equipment Used:
- Table Saw
- Lathe (With basic gouge)*
- Belt-n-Disk Sander*
- Corded Drill
- 5/16’’ Long Drill Bit
- Slightly Smaller Drill Bit for 5/16’’ Thread to Tap Into
- Smaller Pilot Hole Drill Bit
- Rasp (Bastard Cut)
- Bench Vice
- Router with 13mm “Core Box” (Round Nose) bit*
*Non-Essential
Preffered Equipment in Retrospect (Explanation in Steps):
- Chuck for Lathe
- Centre Drill for Lathe
- Possibly Drill Press?
- Routing Jig
- Sled for Table Saw
Materials and Consumables:
- Lots of sand paper 40 thru 240 grit at least two sheets of each - Aprox. $10 ($0.75 each)
- Tarzan’s Grip Mega Bond (same thing as Gorilla Glue, foams and expands) - $8 (mini 45g bottle)
- 24x5/16’’ Threaded Rod - $2.20
- Clear Stain Finish Oil-Modified Polyurethane (We used Feast Watson Clear Varnish but whatever clear coat you want should be fine) - $16.15 (250mL)
- 50mmx50mm Hardwood at least 1.5m (different woods in steps)- Aprox. $35
*Some Wood Finishing oils would also have been a good idea in retrospect
Total Cost: $71.35 -with plenty of left over varnish and glue
Everything was obtained from Bunnings except the wood which came from Thor’s Hammer
The Blade:

The blade is made from Brush Box, a timber which generally has a very straight grain and few flaws making it well suited to make the blade.
Cross Section:
The blade started as a 50x40, 800mm long dressed timber. 80cm is a bit above average for an arming sword and further more we did not have a tapering blade so the sword ended up being improperly balanced and looking a bit too long. I would recommend making the blade a bit shorter maybe 70-75cm.
We started out by marking out the centre and drilling a pilot hole in one end by putting it in a bench vice and having two people level it by eye, I forgot to centre punch so the bit drifted off but we were still able to get another properly centred hole. In retrospect this should probably have been done after the cross section shaping.

The basic cross sectional shape of the blade was done by marking the end and passing through the table saw while holding it at an angle. Ideally it may have been better if the angle of the blade on the table saw could have been adjusted instead but that function doesn’t work on our table saw since the blade just hits the side of the slot. Making the angle by holding by hand worked quite well tho.
First we cut a 
First we cut a diamond shape

Then cut off the obtuse edges to make a flat face.
It would be nice if we had a sled for the table saw then we could make non parallel cuts and taper the blade.
Also drilled the tang hole at this point, further detail will be in the tang section below.
Point:

Marked out some guide lines and cut as much as possible off with the band saw. Went for a safer rounded point style.

The rest of the shaping was done using the disk+belt sander.

I hand sanded the entire blade to clean it up and wiped with a damp cloth to get an idea of the final appearance. At this point I should have rounded down the edge of the blade which was still sharp and prone to chipping.
Fuller:

Made the fuller using a 13mm round nose bit and from 40grit sandpaper.

(Test piece shown above, not blade) Clamped the blade to a random long flat plank to give it an even surface to sit on and an edge for the fence on the router to run along.

Accidentally routed into the edge bevel. Definitely should have built a jig for the router to run along. It was every difficult to keep level and from slipping too far. Managed to hide this mistake decently, it isn’t very obvious in the final product.

The fuller runs from the bevel of the point to about 12cm (how deep we drilled +1cm) from the base to keep clear of the hole in which the tang should sit and goes bevel to bevel wide. Did 3 passes with the router going down the edges of the fuller and the centre. I initially tried cleaning up the 3 groves from the routing into one with a chisel which worked horribly so I just used 40grit to shape it up which worked pretty well. The router left impressions at the end of passes which were difficult to sand out to I ended up extending the fuller slightly at either end with a chamfer up.

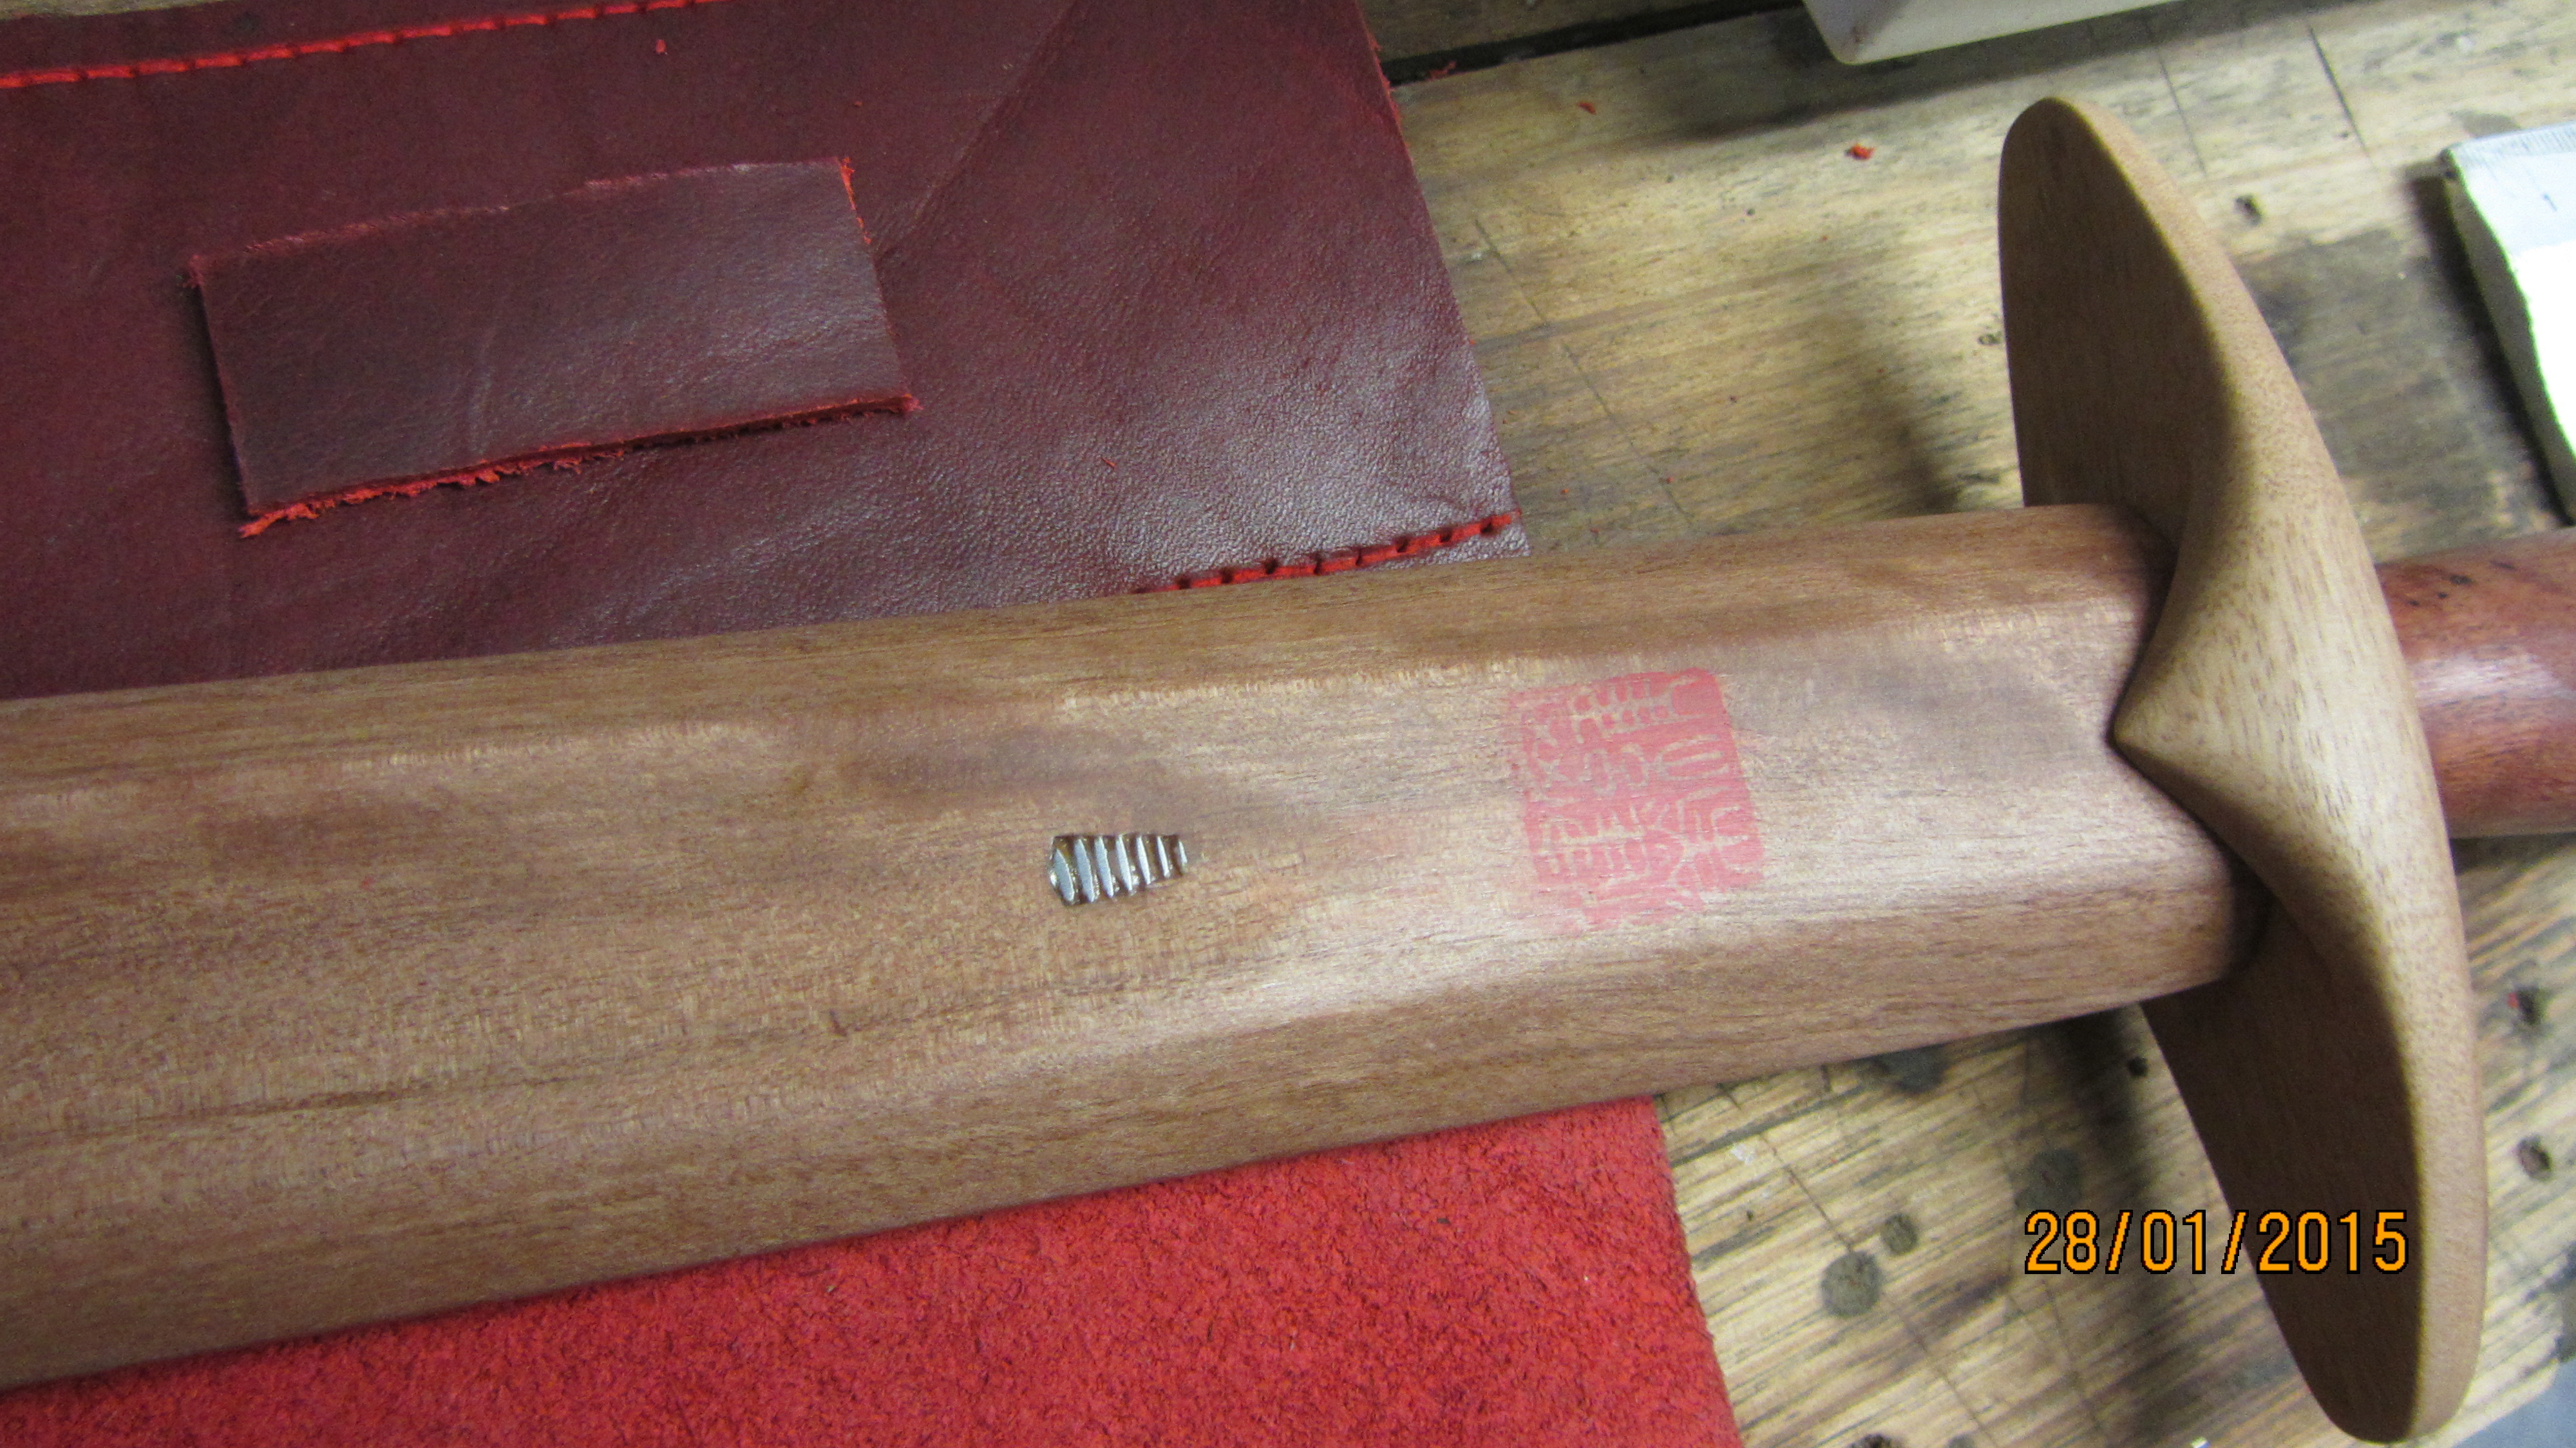
Unfortunately this broke into the tang hole on one side. Flaw number 2 doesn’t look too bad when the tang is fitted and polished up but it does make it look a bit funny, I guess it can act a a reminder that the blade has a steel tang.

All sanded up. Just fitting the tang left.
Tang:

The tang is a 5/16’’ threaded rod which is the largest that would comfortably fit within the thickness of the blade. As mentioned before the pilot hole was drilled first and the final 5/16’’ hole was drilled after cross section shaping. It would have been a better idea to do it all after the fuller. Alignment of the drill down the blade was all down by eye with one person drilling and aligning form one angle and another observer verbally aligning from another angle. This might have been done better with a drill press but this method worked surprisingly well and I’ve had difficulty with the MHV drill press in the past.
The tang was attached by smearing it with a sparing amount of gorilla glue and putting it in the tang hole. The glue expands and forms a tight bond all around the rod. Glue was wiped off as it expanded out the base of the hole and the breakthrough in the fuller.

I stuffed some dust from sanding into the breakthrough in the fuller to fill up the gaps between the threads and the hole with something that would hopefully match the colour of the wood.
Crossguard:

The crossguard (Centre) as well as the pommel is made from Yellow Box which has a much lighter colour to contrast with the other parts and unify the appearance of the hilt.

Milled out a block, drilled a 5/16’’ hole in the centre for the tang and marked out the shape. Note the grain runs perpendicular to the tang to give it strength along its length. The block was about 3 times the width of the blade, 3 times the thickness and double the thickness of the blade in height. The piece ended looking a bit small for the sword, especially with the extra-long blade. I would recommend having the cross guard 4 times the width of the blade.
The outline of the cross guard is straight, a cross guard concave towards the blade is more practical and typical but i choose to follow the straight grain of the wood. The peaks later form a slot into which the blade sits to hold it tight on the blade and prevent it from spinning.

Cut of as much as I could with the band saw again then put into the bench vice to start rasping out the shape. I should have put some soft jaw into the vice so to it does not mark the wood but it all sanded out in the end.

After outlive was rasped out, starting work on cutting out the slot for the blade. I slipped the crossguard onto the tang and marked out the faces of the blade on the crossgaurd. I cut the slot roughly with a small handsaw then cleaned up the surface with 40grit and a file, constantly checking the fit onto the blade as I went.

The surface was cleaned up and the ends were tapered and rounded using the dish/belt sander. A slight slope concave towards the blade was also sanded in.
Later, all the edges apart from the blade-side of the crossguard were rounded off using the disk-belt sander and by hand sanding.
Handle:
The handle (left) was made from Red Gum, it has a beautiful red colour and a wavy grain as well as being a durable and dense hardwood.

The handle was turned from a 50x50x150 blank. We started by drilling a 5/16’’ hole for the tang through the centre of the piece. This was so that the wood would be turned around the hole and thus making the turned piece perfectly centred on the hole. However, the 5/16’’ hole was too big for the drive centre so we got an off cut, drilled a small hole through it and glued it onto the blank, attempting to align it to the two holes. A slot was sawn across small hole to help seat the flanges of the drive centre.

Unfortunately the hole must have been misaligned or at an angle since the hole ended up being a bit off centre. It may have been a better idea to instead replug the hole by gluing in a dowel and drilling a small hole for the drive centre in that.
The final dimensions of the handle were 12 cm long with a 3.5 cm diameter in the centre tapering to a 3 cm diameter at the ends which we found to be a very nice size and shape.
Pommel

The pommel (left) as mentioned before is made from yellow box. We cut a 60x60x60 piece out, drilled a blind hole slightly smaller than 5/16’’ so that the pommel could be screwed on can hold the sword together without glue.

In our initial attempt to make a pommel we marked out the centre on both ends, drilled the tang hole and a hole for the drive centre then turned the pommel in the centre of the blank and then parted it with the wrong tool (skew instead of parting tool. This didn’t work very well. The hole ended up quite far off centre and the wood broke off. So instead we worked with the end in the dead centre with the tang hole and this time parted off the other end using a hacksaw. This worked very well.
We originally planned to have it shaped so that is met with the handle on a wide flat surface to help hide any misalignments but with the way Duo turned the wood it turned out to fit together quite well.
Putting it Together and Finishing:

Once all the parts were made the crossguard and handled were slotted on and the tang cut to size to allow the pommel to screw on and hold everything tight. The off cut rod was kept for use to hold the parts during varnishing. Some additional sanding for shaping was then done to help all the parts fit tightly.
All the parts were sanded by hand in order to follow the grain and shape of the wood down to 240 sandpaper and the wood dusted off and buffed with a dry cloth. Finer sanding could have been done but 240 and cloth buff worked out to be fine for the satin finish. In retrospect this may have produced a better finish if I used a drying oil but this would require a long cure time if i wished to then polish it and add a polyurthane overcoat. However even without oiling, the oil-modified mature of the polyurathene used should help penetrate and bond well to the wood.

I applied the varnish using a clean rag which i found worked quite well; easier than using a brush and cheaper than having to buy one.
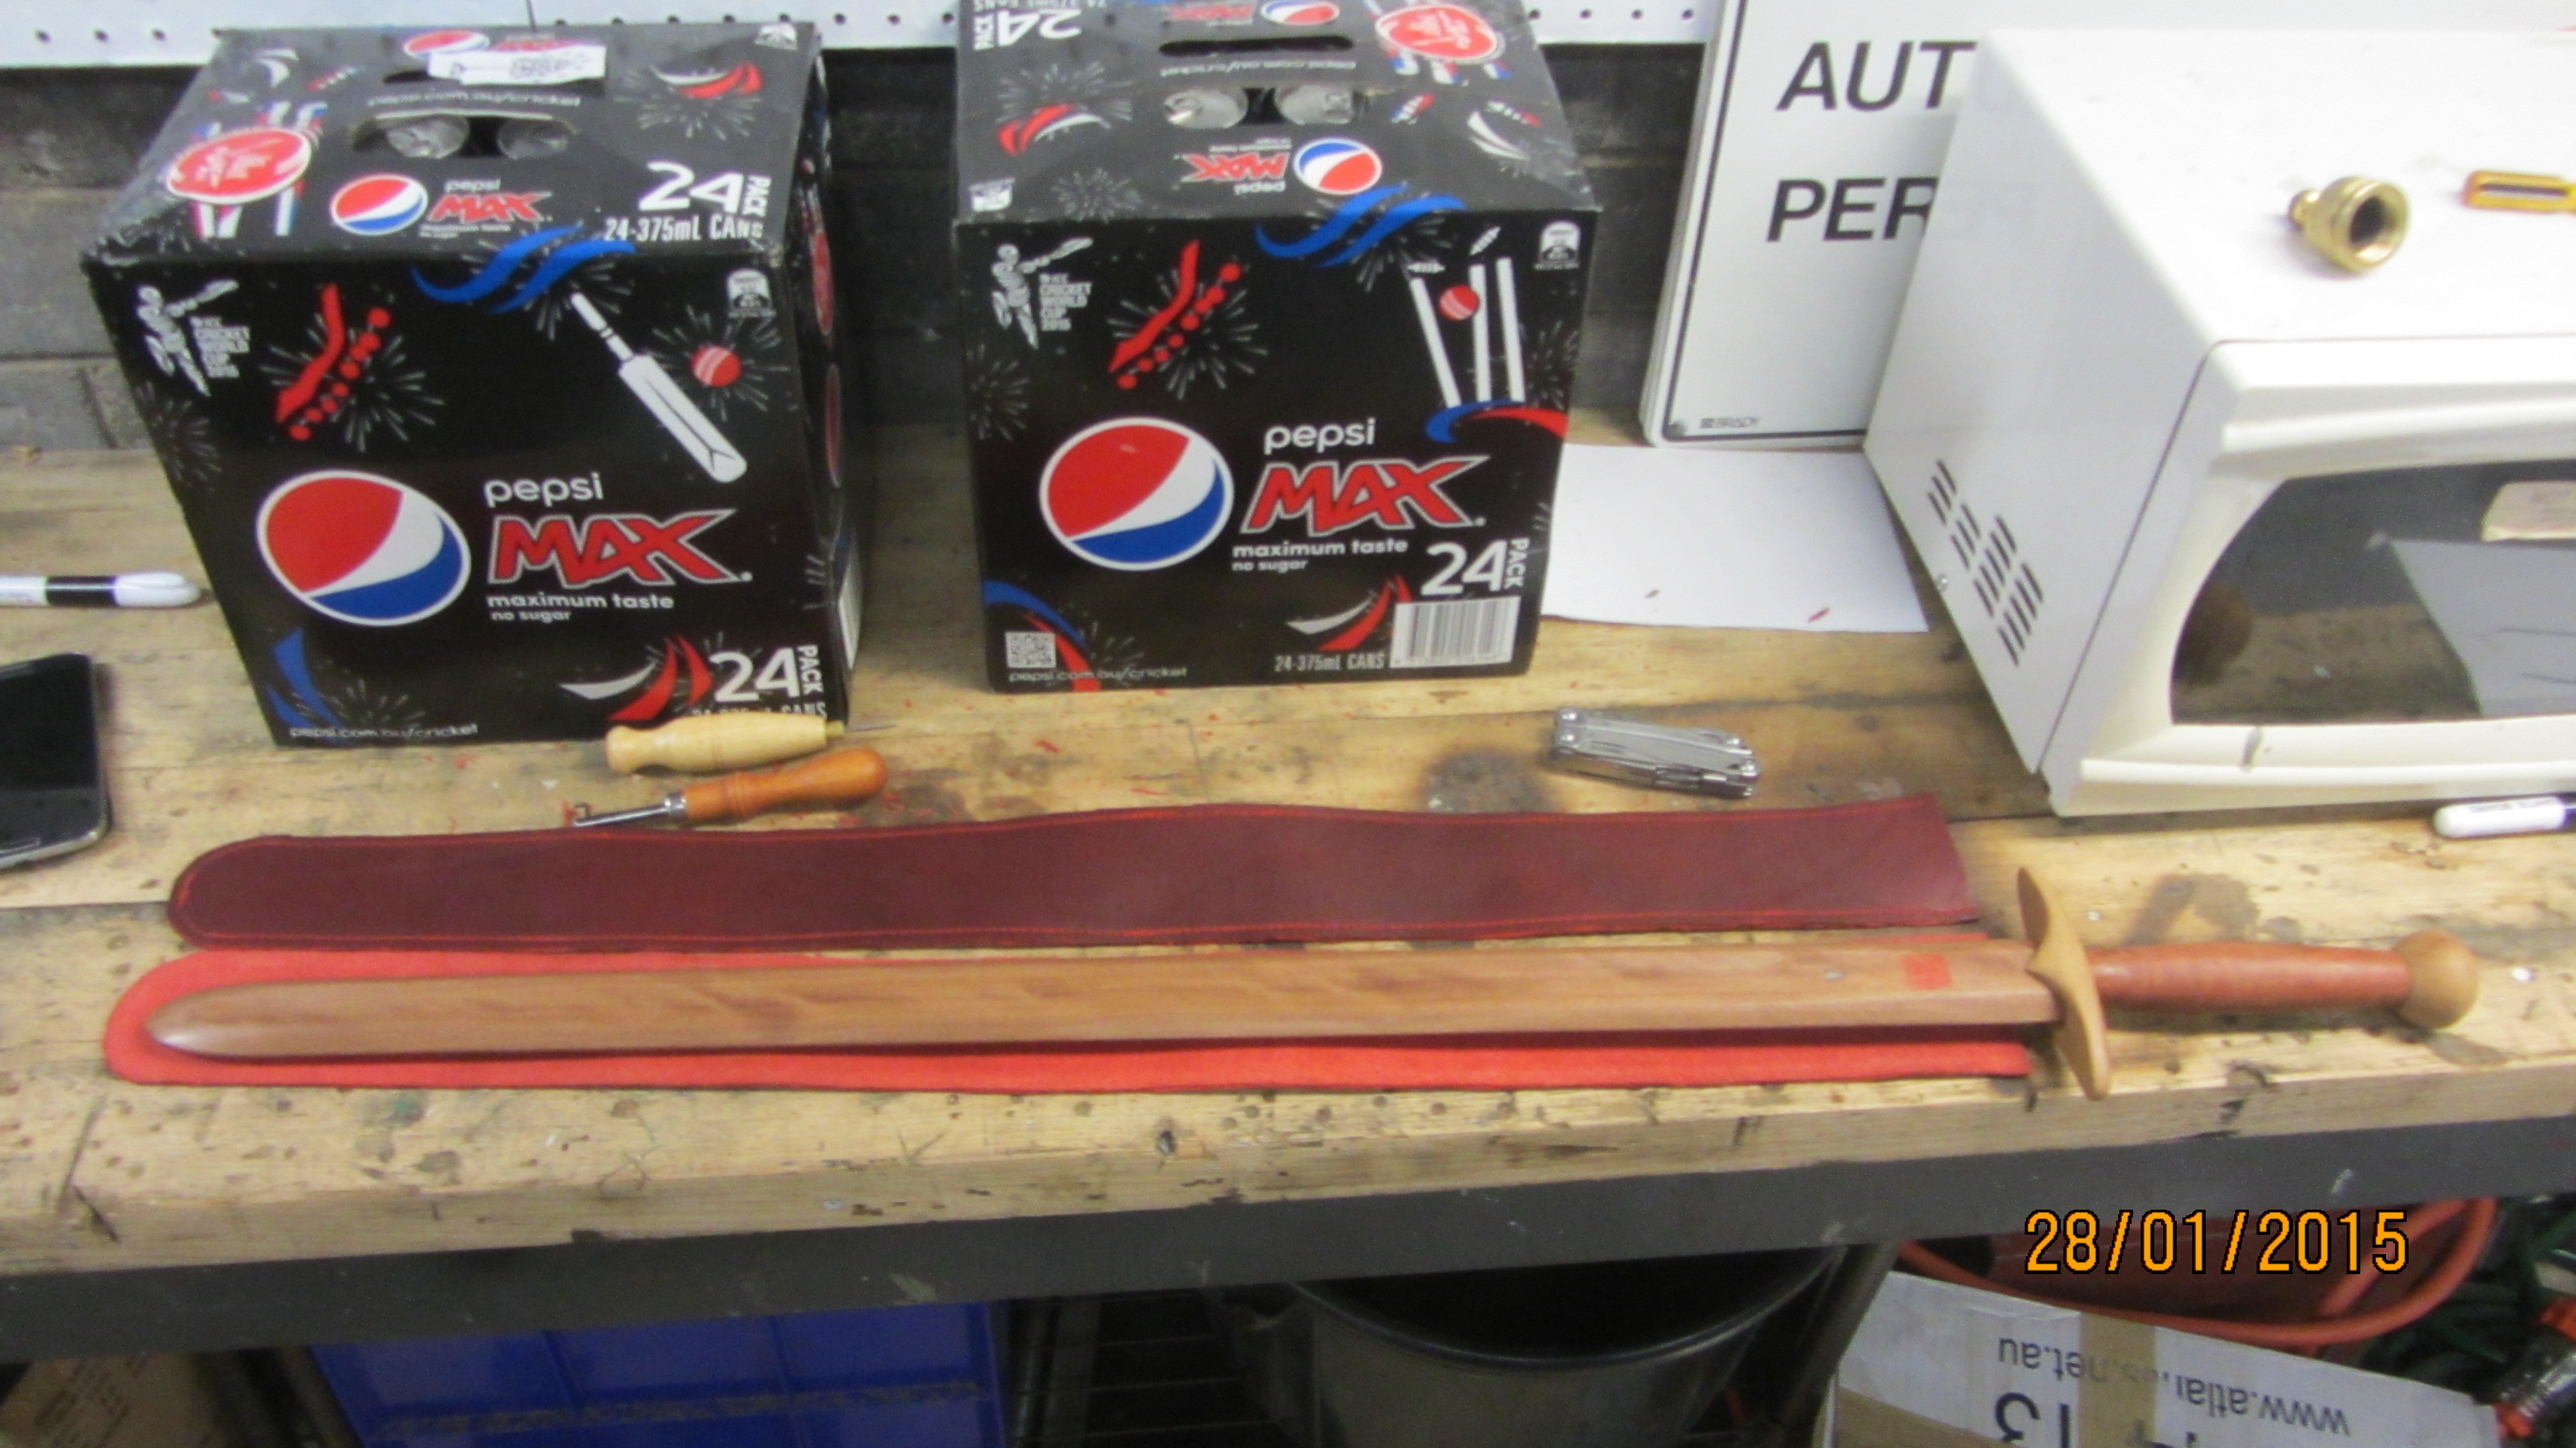
All done, some more pictures and a leather sheath on the way:

P.S. @system Is it okay if I link to this forum post from an instructables or elsewhere?