All of my adaptors have many more pins available (but not installed). I added the RTS pin and is does flash as expected.
However, it does not reset the board at the end (it does say “Hard resetting…”) - actually even toggling the RST pin manually (to GND) does not restart the board until I disconnect the DTR+RTS wires.
I picked up a red board to write an ID (on the black I had to put a sticker) and the batteries (the case) fell off. Luckily the soldered wired held on. Probably should use a stronger double sided tape. A rubber band will look bad on such nice boards
I had two of them lock up today for no known reason, about two hours apart.
Both resumed fine after remove and replace of the battery.
This seems like quite strange behaviour, as they would have had to lock up in some way that did not trigger the watchdog. Some research into how the watchdog is being handled doesn’t give a lot of confidence, it seems several functions in the SDK feed the watchdog outside of user code control with no way to switch off.
I’ve checked in another change that uses one of the hardware timers to trigger a reset after a 10 second period. The loop time I’ve measured is around 2.5 sec, so this should only trigger if something has locked up. Hopefully it might resolve the issue.
After some initial testing I commissioned my two boards. One is “for real”, replacing a NodeMCU in the music room. The other is duplicating an existing sensor, and will be used for future testing. They are both running for two days now.
I plan to solder a female row on the “spare” locations, and install a bme280 (i2c) using pins 14 and 2. I already use pin 4 as the “magic” abort input (to stop app error loops).
Reviewing the logs for the current runs I noticed that they are showing the correct reset reason. This is after I re-flashed the boards this morning to the latest SDK. I cannot explain this, but will look into it at some point.
[later] Flashing the old image (from January, which was used earlier) I get the wrong reset reason, but not with the current one…
I will check further.
[even later, now that Q&A is finished] Flashed the latest image and I get the correct reason. This is unusual as I constantly build new kernels and I do not recall a period in the past with a bad reason, so I did a quick grep of the logs and yes, I can see that for a period around Jan/Feb this year the wrong reset reason was returned by the SDK.
This fault in the TCP library will cause lock up. It does for me. The watchdog timer has to be fed outside of user code as user code may be paused for longer than the timeout period while waiting for something e.g. a response from a remote machine.
I don’t believe that feeding the watchdog should ever be done within a software module that you don’t have control of, otherwise exactly this sort of problem will occur. I can see why they did it, as it simplifies the programming model (i.e. just call a function and get a result back once it is done.) However a function that waits for long periods for a response should have some sort of call back into user code to check that everything is alright, and it is a that point the user code can be feeding the watchdog or killing the task if it is going on too long.
You do need to change the flash config to 1M (512k spiffs). They’ve got 1M flash and is using SPIFFS to store all the web page data and wifi/thingspeak config.
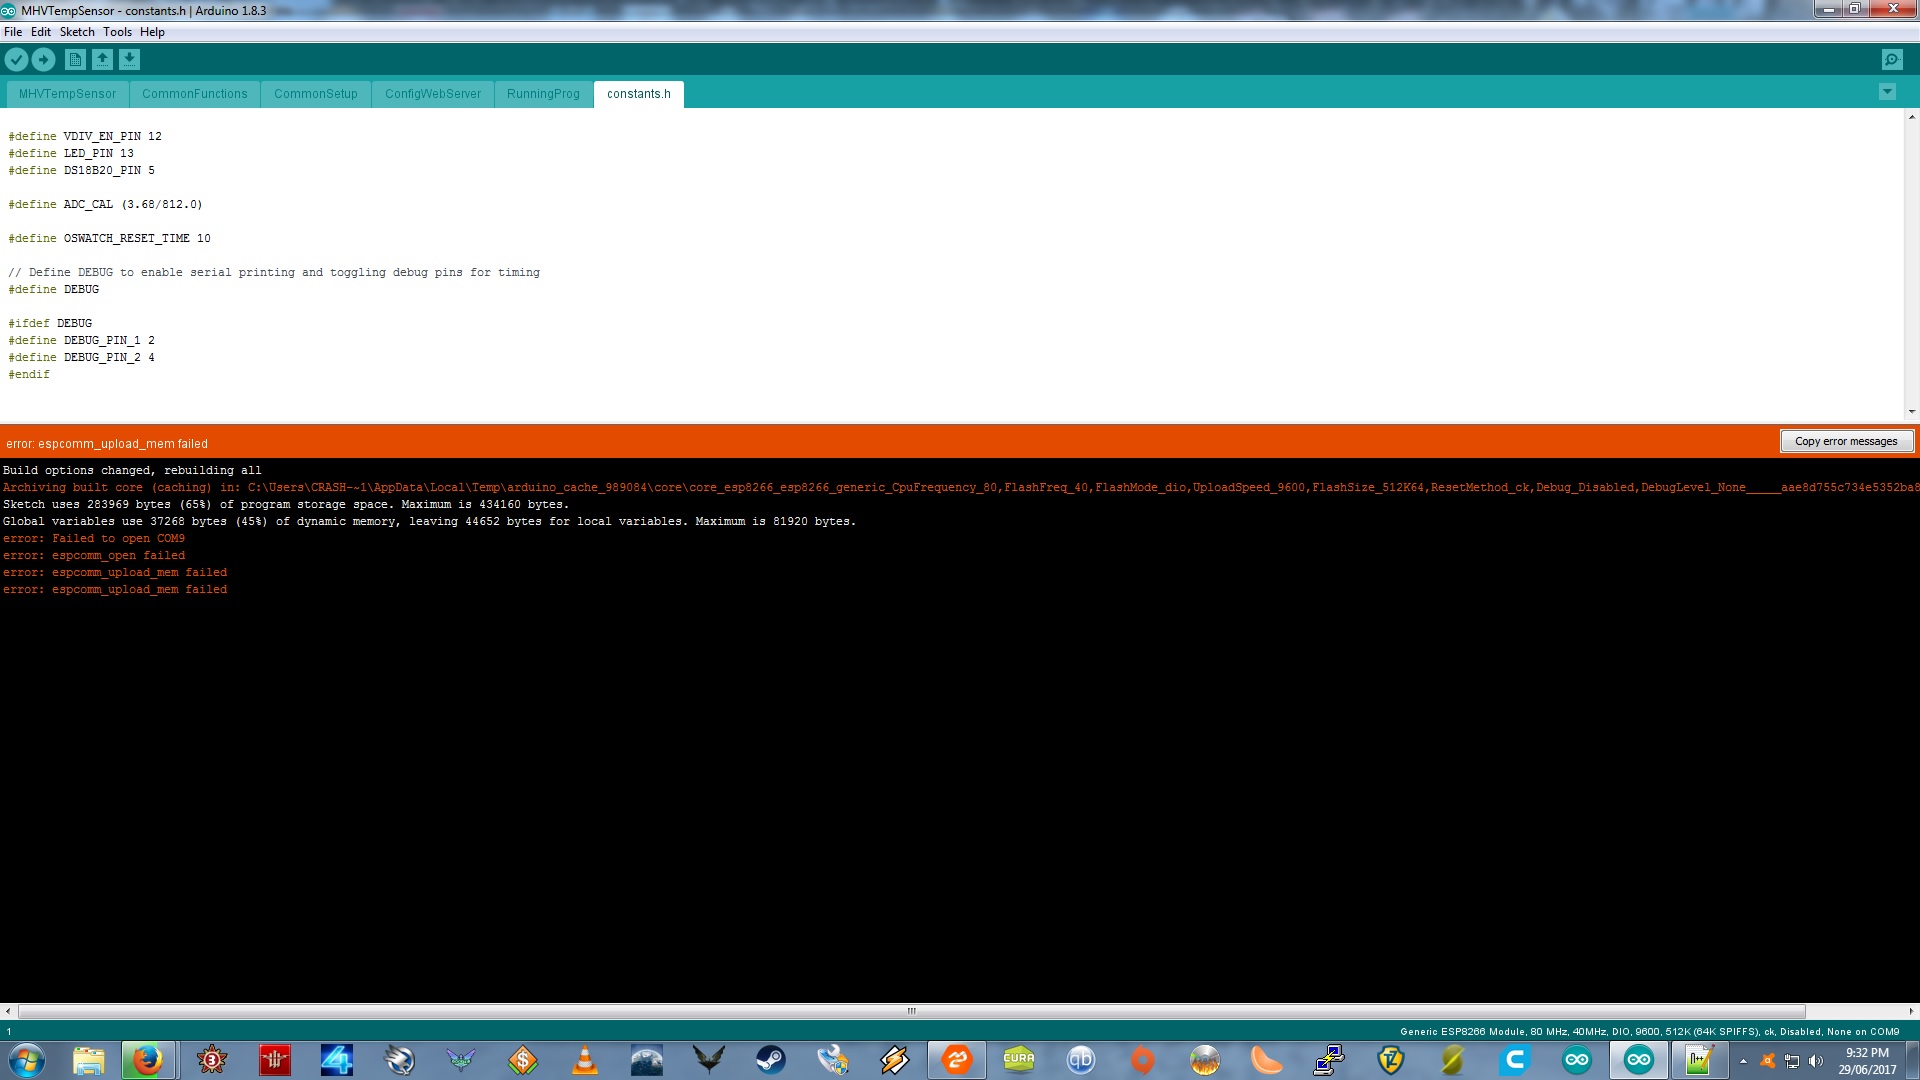
You’ll need some way of pulling the DTR (GPIO0) to ground, then reset it (RTS pin to ground) before upload. Not sure if you’ve got this hooked up to the RTS/DTR pins on the USB-UART? I’ve just been doing this manually at the moment as I don’t have an adapter with an RTS pin.
You will want to change the baud to at least 115200, at 9600 it’ll take forever…
I forgot that you’ll also need to install a tool to load files into the SPIFFS. I just got this plugin for the Arduino IDE which makes it all pretty simple. You upload the code as normal, then use this tool (which comes up under the Tools menu) to upload the SPIFFS image, which it generates from the files in the data subdirectory.
@crashman39, I do not remember exactly which module I gave you but all of mine do have all the signals available. Some do not have pins along the sides installed (e.g. RTS on some here) and you can solder a pin yourself.
It will then flash it automatically, however I found that I need to remove the DTR/RTS wires for it to function afterward.
BTW, are you sure it is COM9 that you should use? This should be simple to check: connect the GND/Tx/Rx wires (only), then reset the module (RST pin is closest to the left of the antenna, GND is the metal can) and you should see something (even garbage) on the aruino serial monitor. If you see nothing then swap the Tx/Rx. Then try another COM port…
That simplification has value. Requiring every programmer to implement a call back function with a yield is a big ask. Core to the Arduino concept is to require as little understanding as possible of the underlying processes.
Where
.[quote=“Harvs says, post:28, topic:1178”]
otherwise exactly this sort of problem will occur
[/quote]
A better solution, in my view, is to fix the logic error causing the problem and I’ve been waiting for Espressif to do so. It’s taking a long time however and @Harvs solution of a second watchdog timer looks like a good workaround in the interim.
Charging it to 5V then just running the same firmware posting to thingspeak I got about 30 readings out of it.
Given that firmware is still quite inefficient and this is a pretty simplistic way of employing a super cap, I was pretty impressed as a back of the envelop test.
If you had an application that needed to take a reading of something once or twice an hour there would be enough storage for a day or more of reporting. Not hard to harvest enough energy to fill a cap like that over the course of 24hrs from most sources (e.g. very small solar panel etc.)