At the meeting yesterday (16/Aug) we selected some components for the initial design.
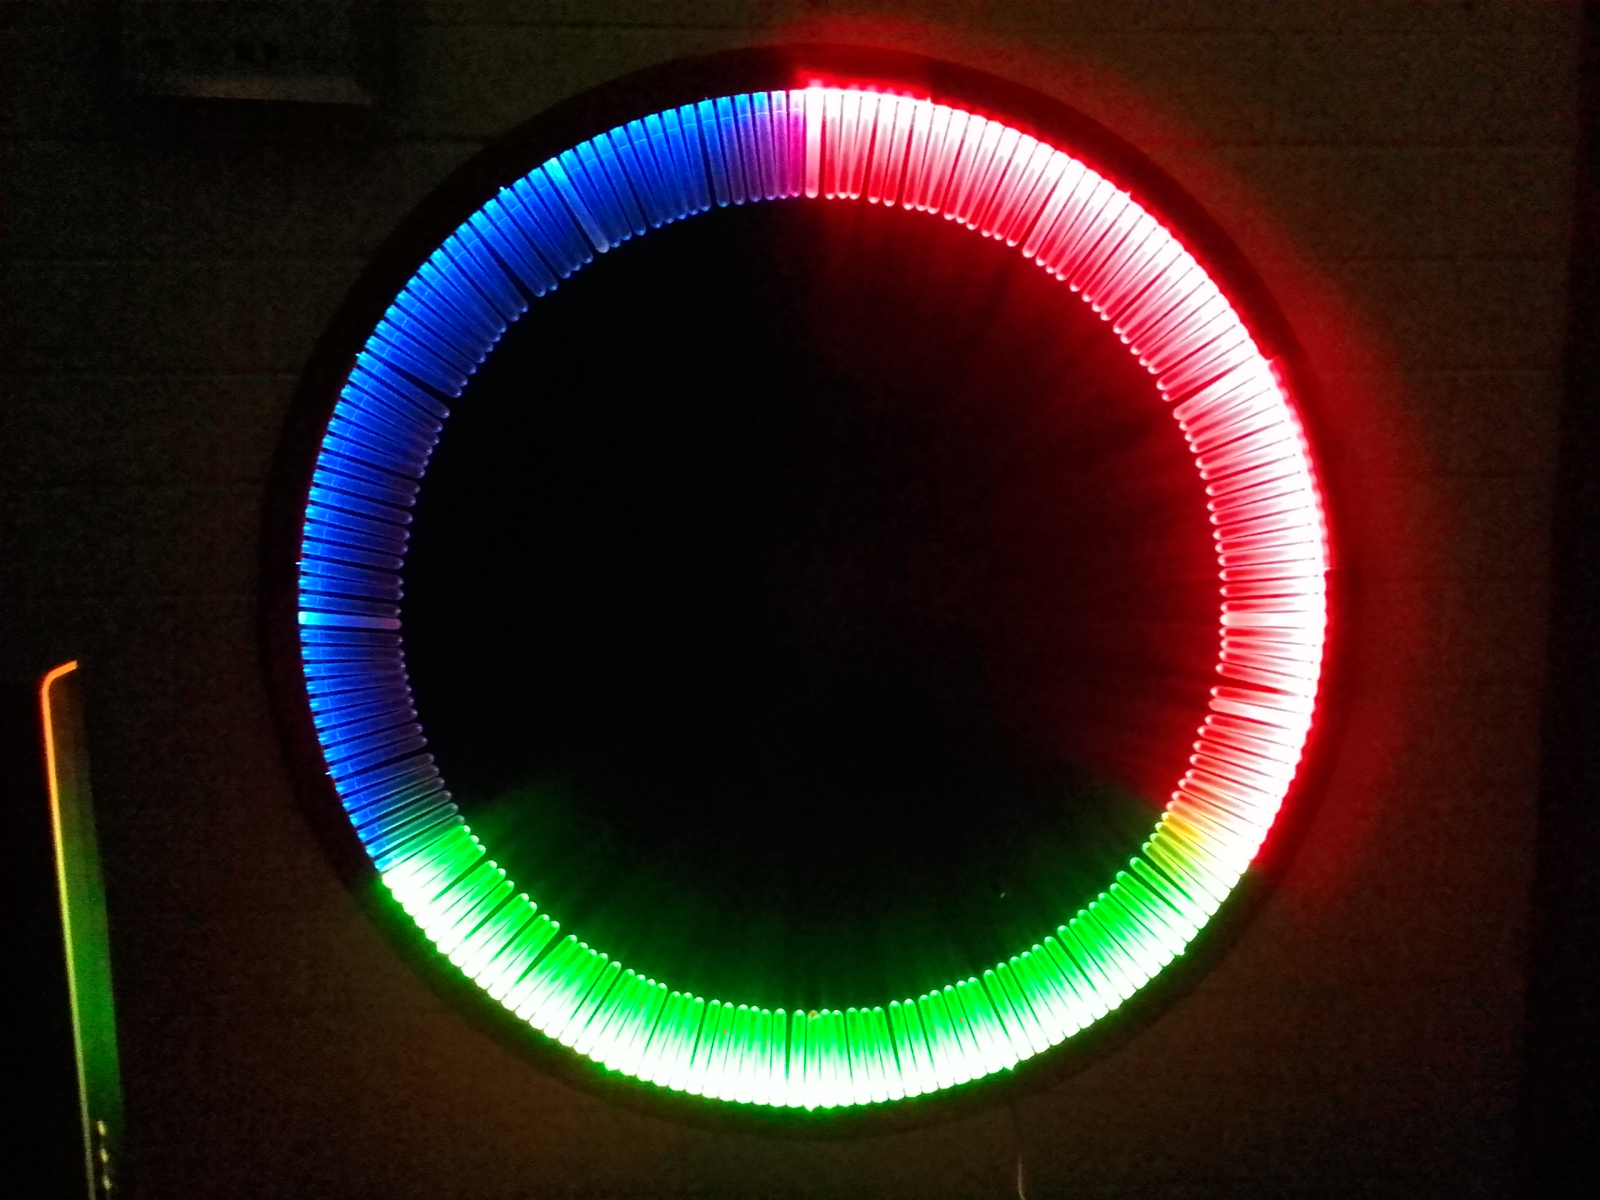
a WS2812 LED strip (no PCBs)
a small arduino (not sure exactly which one we picked)
a clock with battery backup (DS3231)
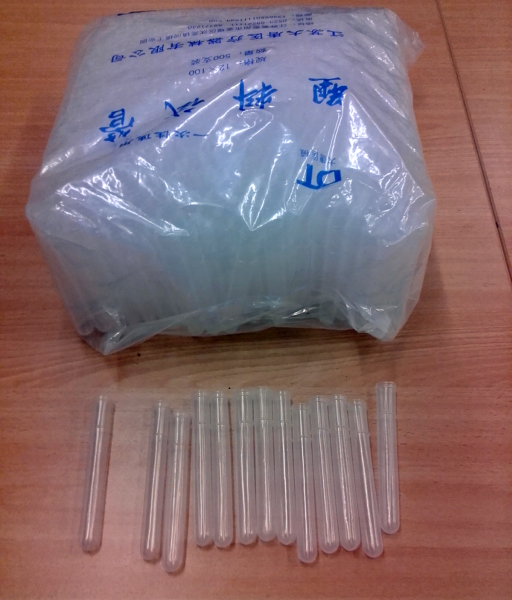
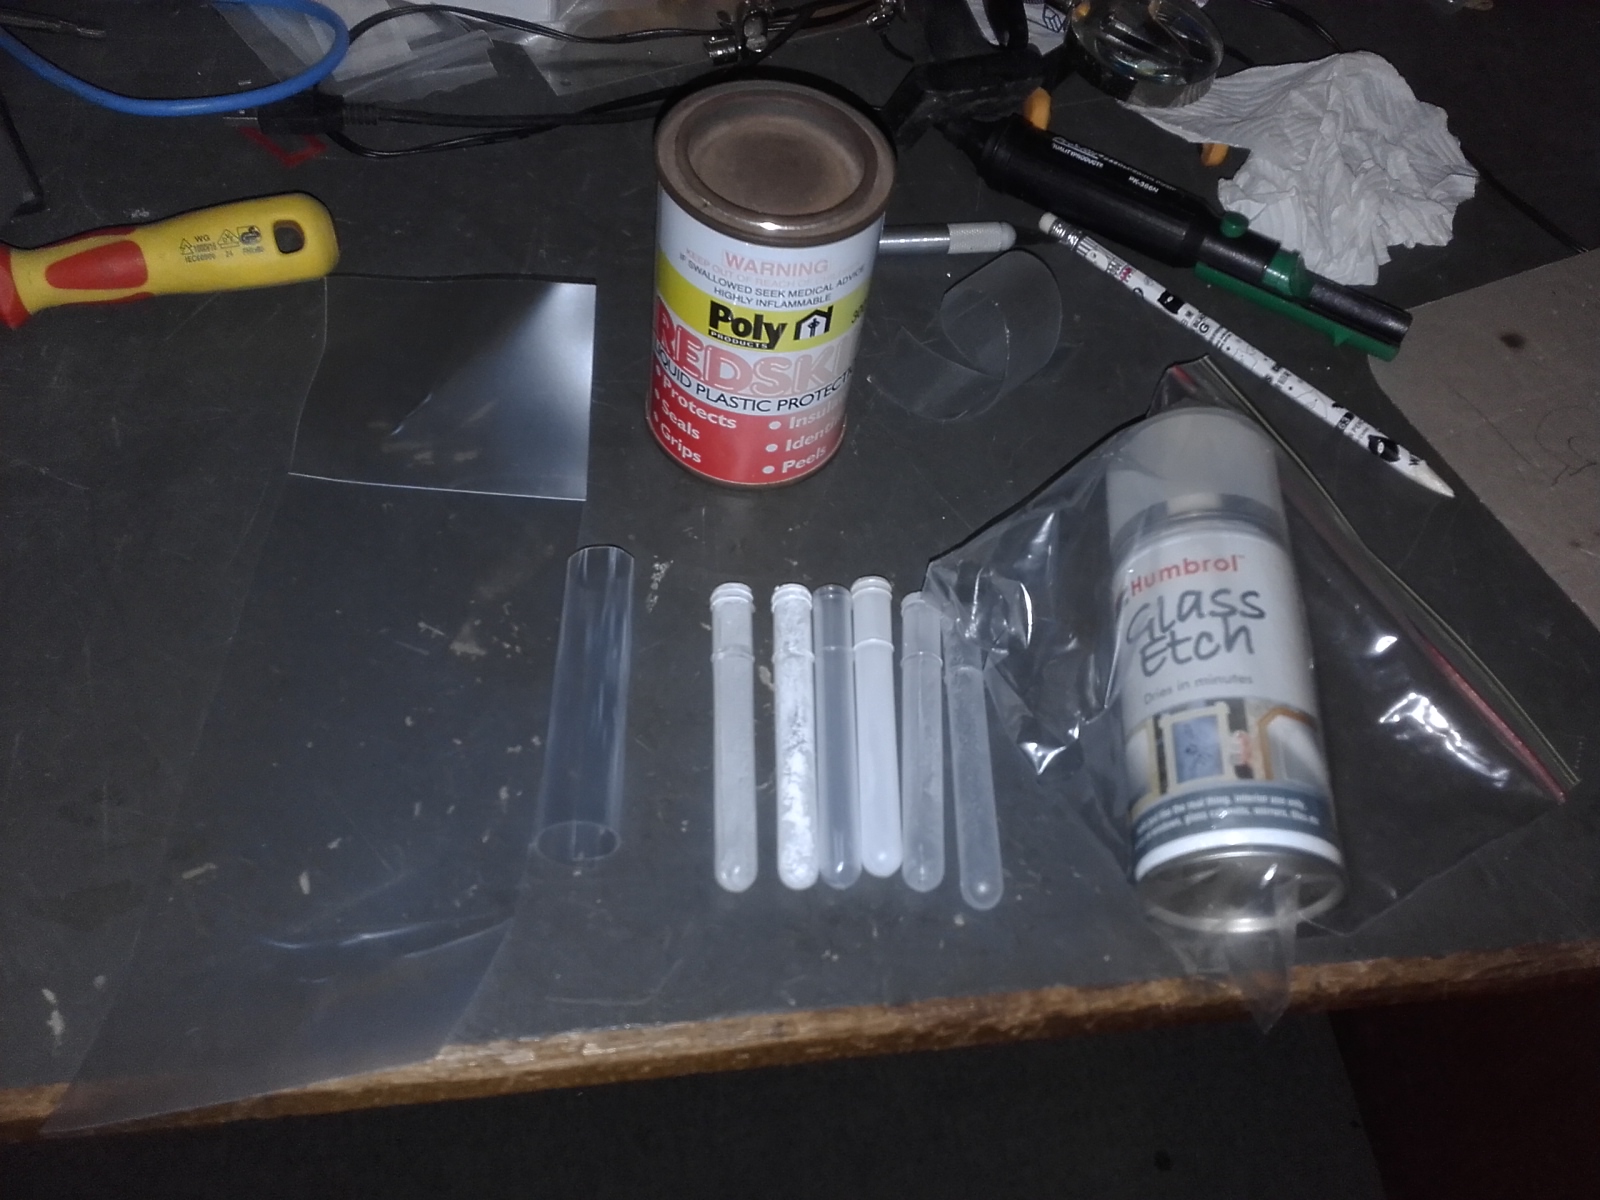
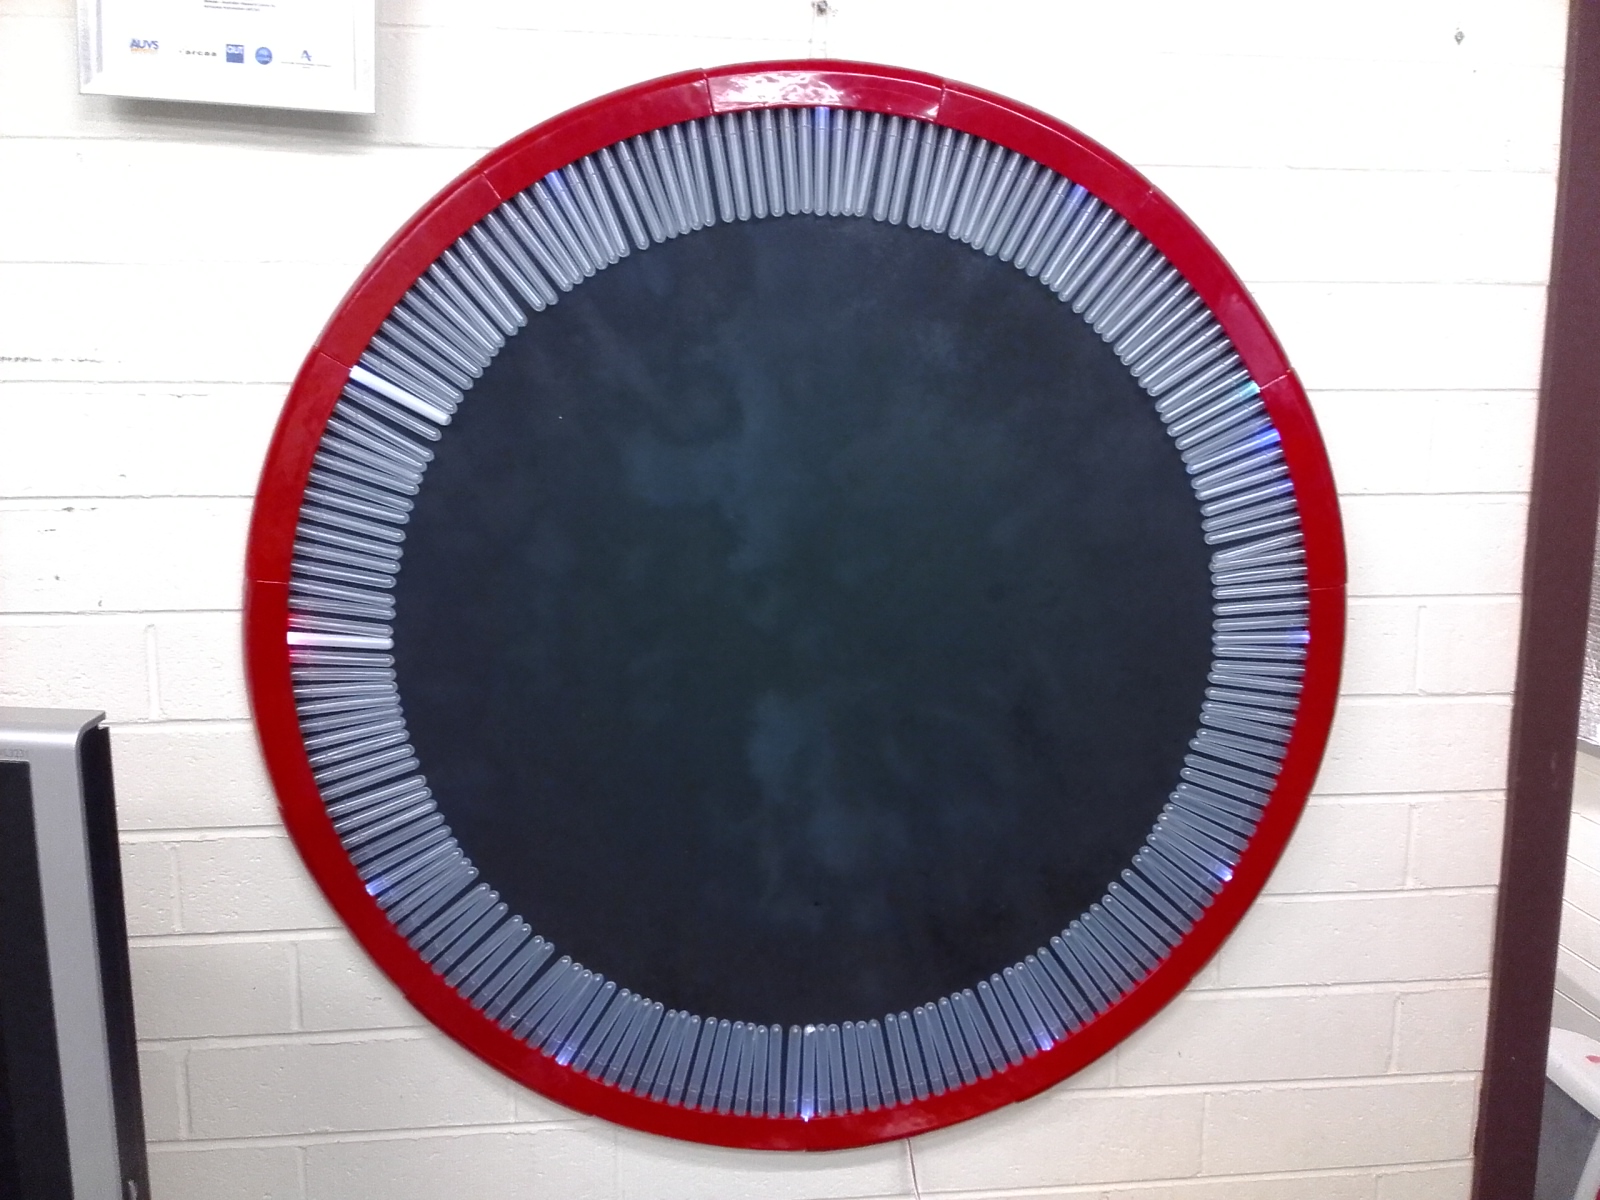
it was felt that semi-transparent plastic tubes are best, and we need to check that these are available.
we have a breadboard to experiment with before designing a box for the controller.
We discussed the basic design and (I think) agreed to continue with the 3 LEDs/minute (180 in total).
We did not yet discuss how the three hands will be presented and how many LEDs (if any) will be permanently on.
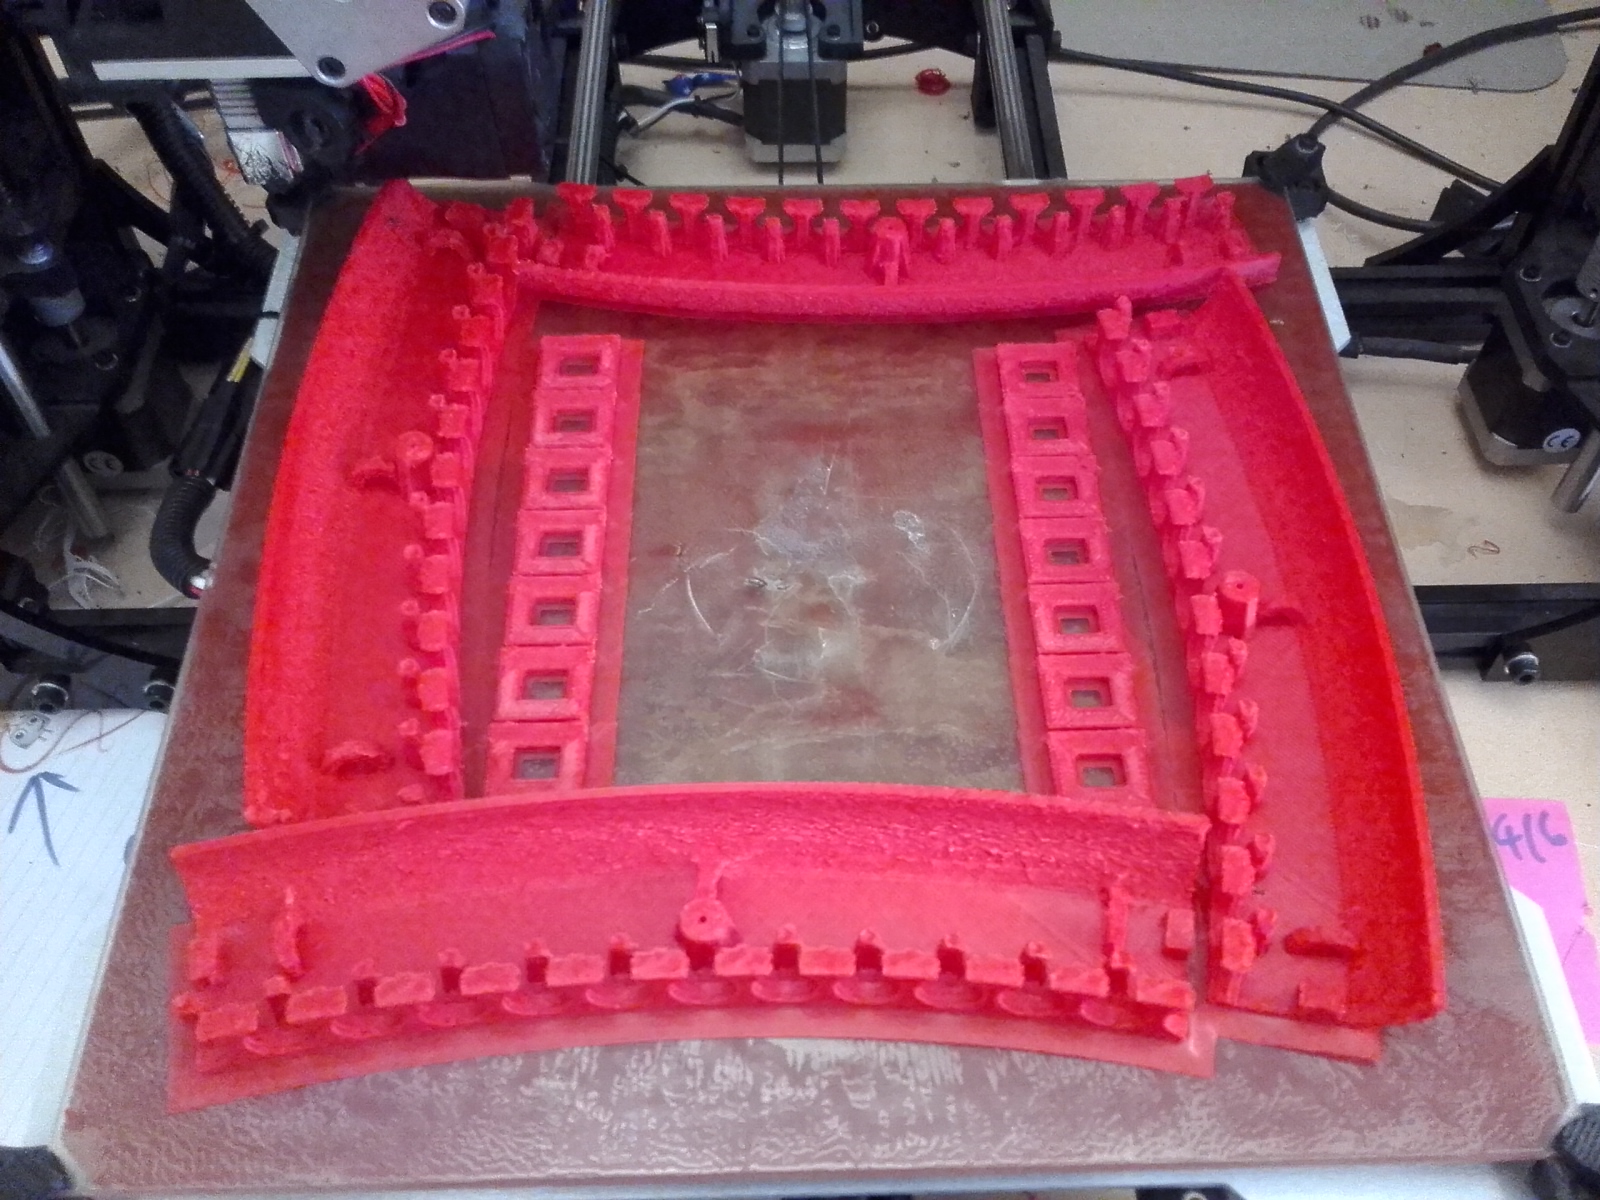
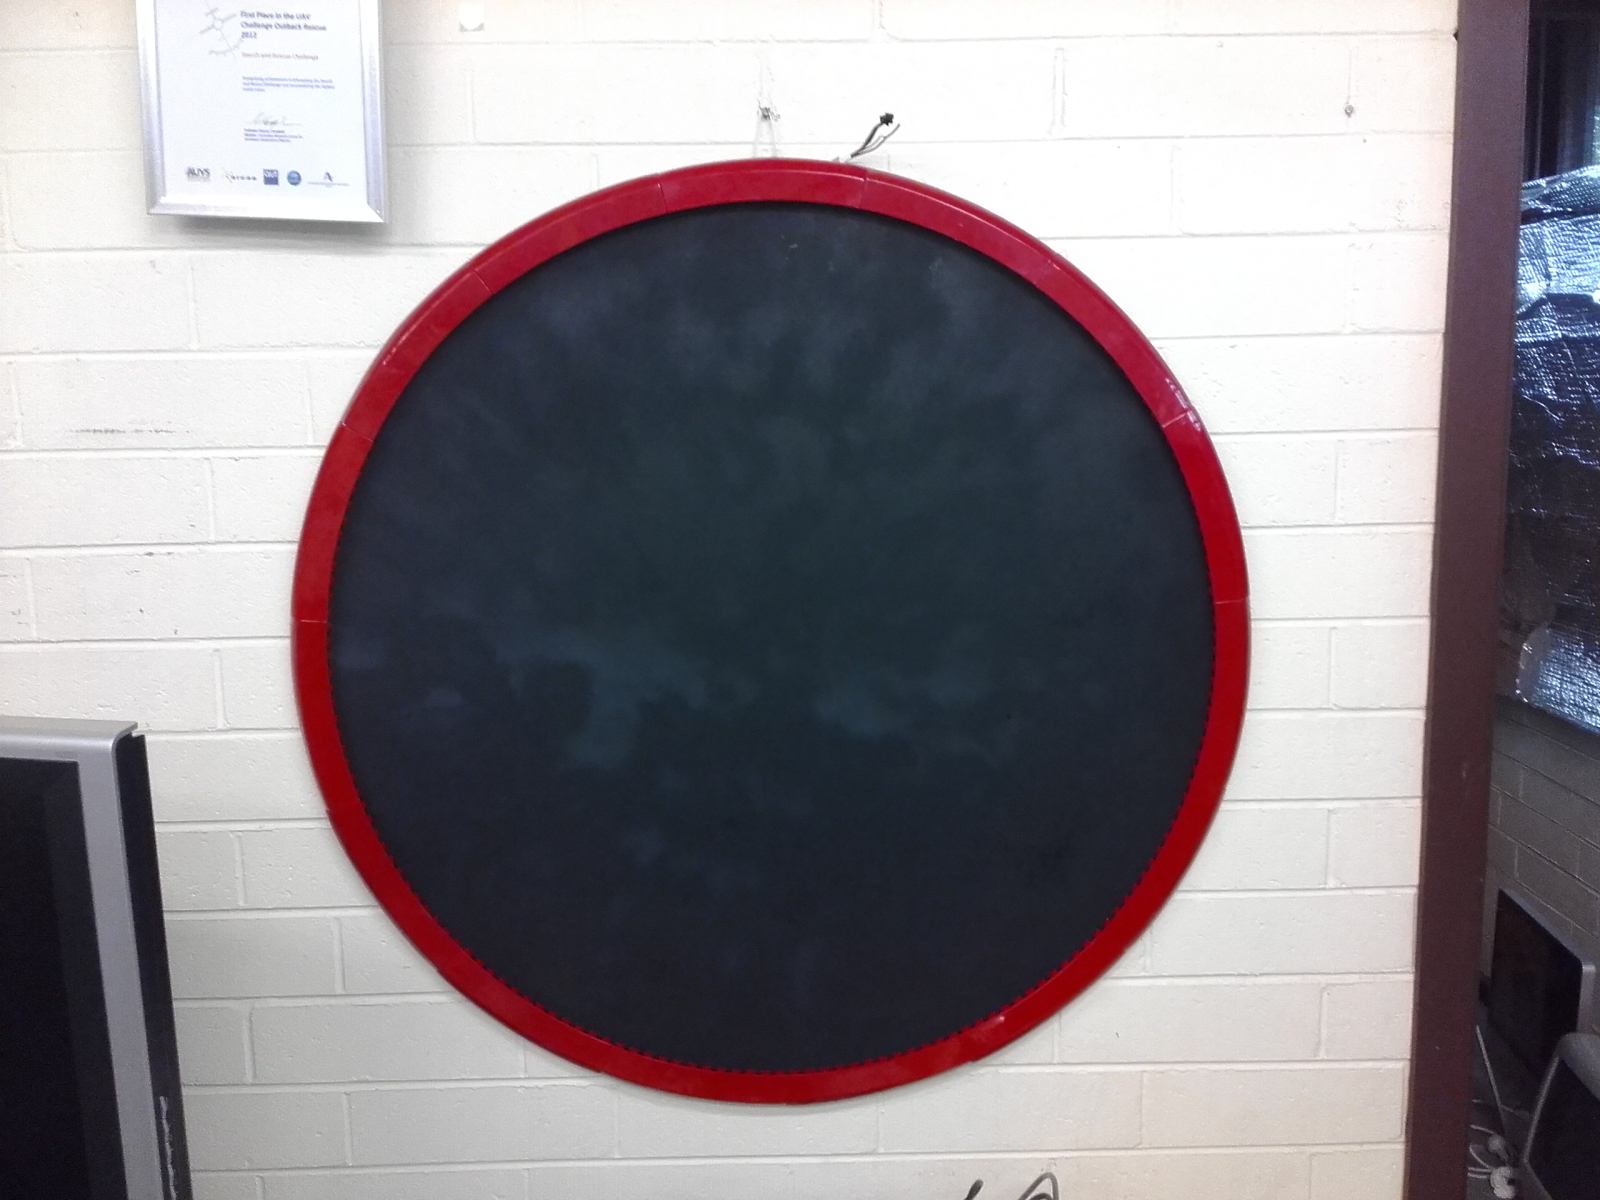
We baptised a white plastic project box (sits on top of the soldering station table) with the initial parts (no LEDs strip yet). Once the design is settled it will be time to 3D print the frame (and box) and acquire the LEDs+tubes.
@Ken_Taylor offered to bring in next week a controller+strip for us to see if it suits this project.
(I see it is now described just above).
I mean “no PCBs for the LEDs”, we will use a long strip as this will significantly simplify the project. Using our own PCBs with discreet LEDs is, as I understood it, a plan B, to be done for the sake of gaining experience in PCB design and manufacture. We can choose to do this before the frame is printed. [Maybe a second project/clock, for the “other” room?]
As for the controller physical build, this was not discuss yet.
I won’t be able to make to the space at night time today, but I have been thinking about some sort of user input.
A clock needs to be able to set the time, plus any other features that can be thought of. EG toggle daylight savings mode,
Along the edge of the frame (probably at the very top or bottom) we could have some buttons.
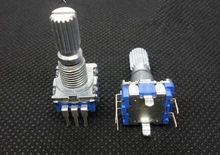
Another option could be to have a rotary encoder.
The encoder could be more intuitive for setting time, but not as discrete as buttons tucked around the edge.
Today (13/Sep) we put together the parts. I grabbed the sketch from John and the LED strings (2x5m) from @Rene. The sketch uses the FastLED library.
The sketch works OK so this was easy.
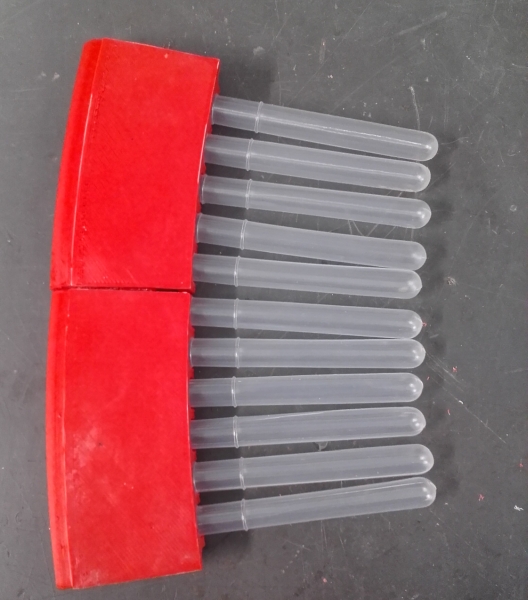
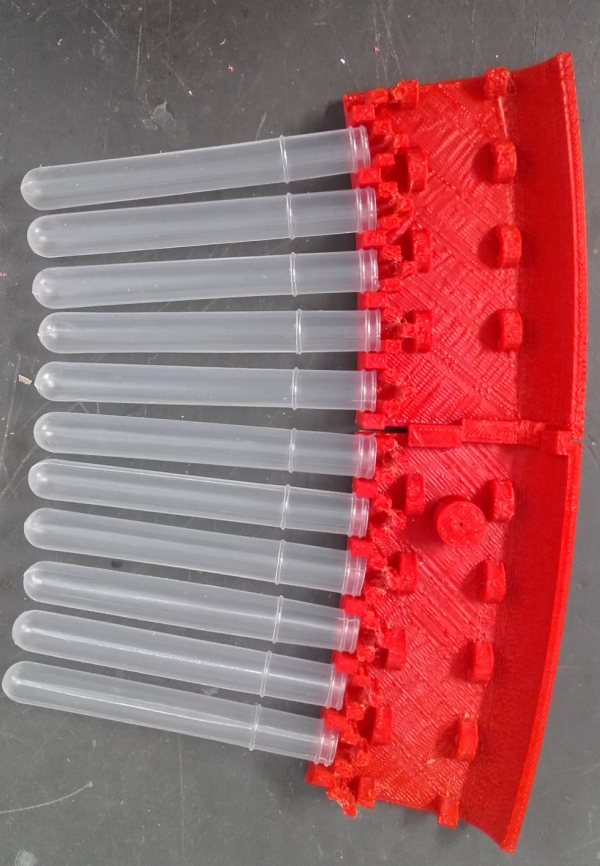
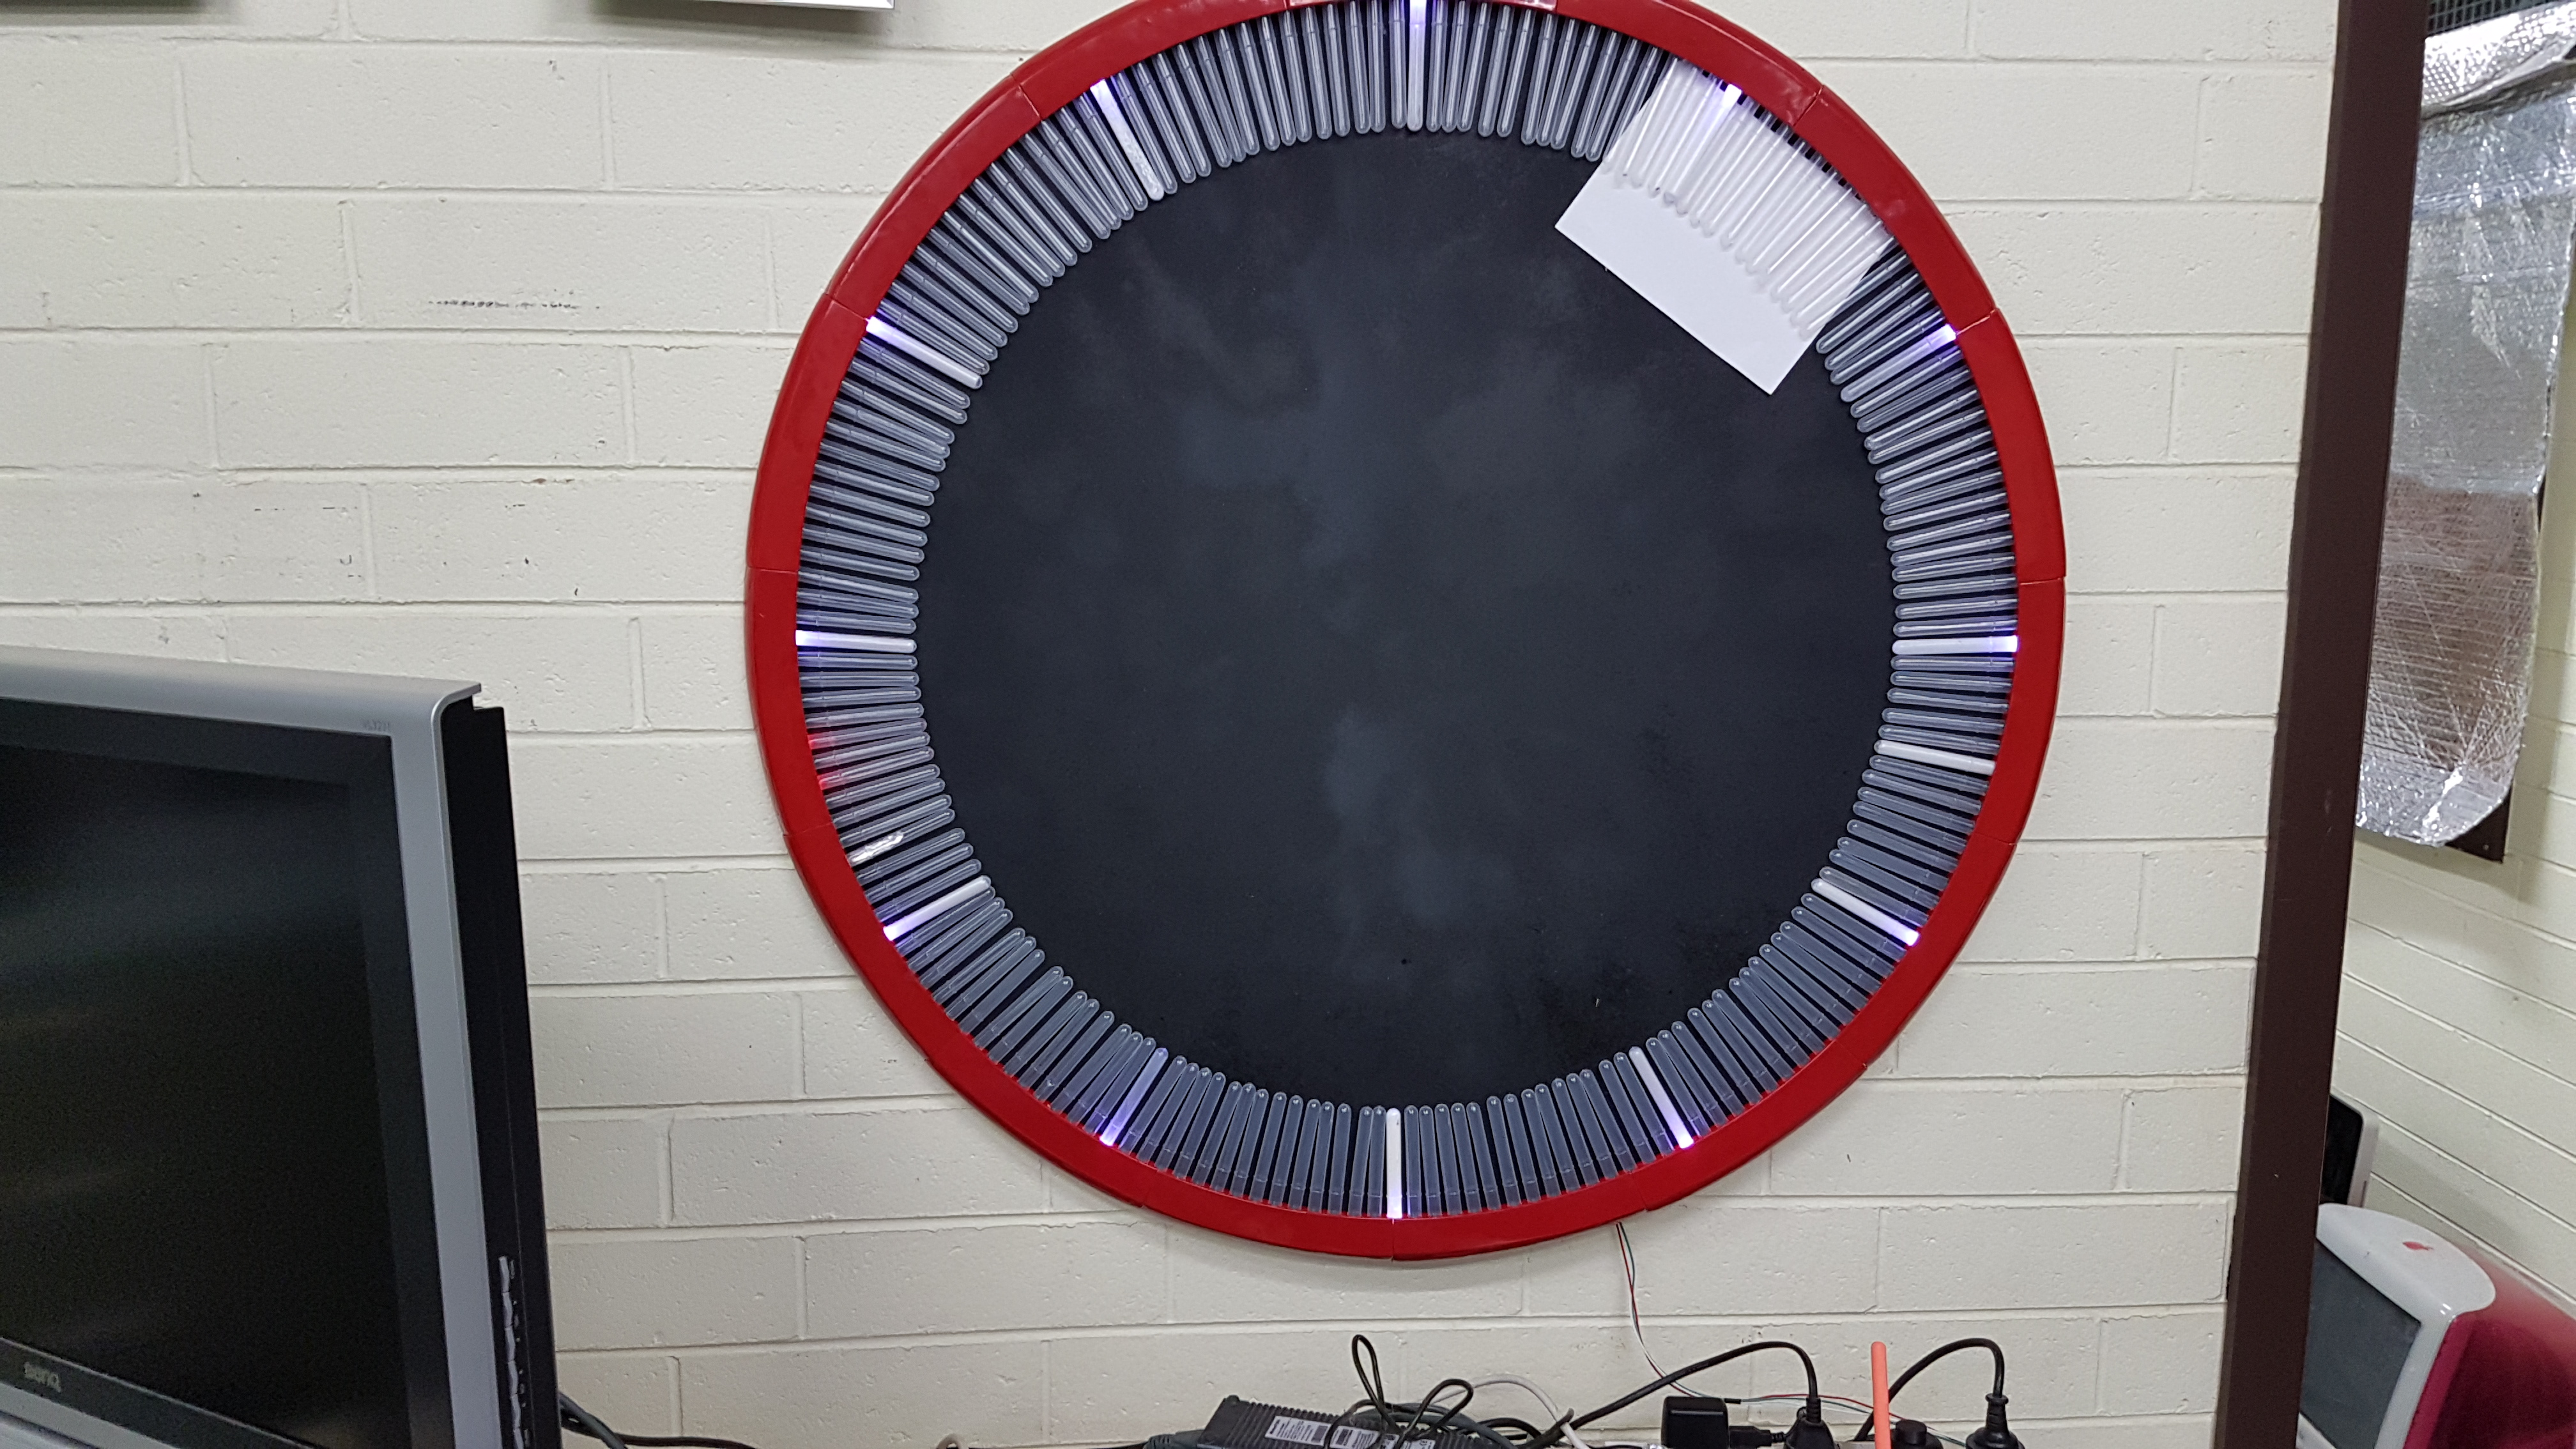
The 3D printed test-tube mount needs some adjustments:
the LED strip cannot be fully inserted because there is an SMD cap in the way.
the tubes are not held firmly - can we add ridged to match the ones on the tubes?
I suggested that we sacrifice a few LEDs on the lead-in, e.g. the fifth LED in the string will be the first active one.
This will allow the full 180 LEDs to be mounted without interfering with the Arduino connection.
when all we had is 5 LEDS active (3 for hour, 1 for minute and 1 for second) the string pulls 150mA.
This is awesome! I’m really glad and excited that everyone is getting involved.
I agree the frame needs a handful of tweaks, and to hold the test tubes better. I found a little time this week to start making changes but not enough to finish…
Where abouts is this SMD cap located?
Other changes (- from the first week we looked at it)
make the test tube clips hug the test tube more
add more buffer space around the LED strip, to each side of the LED, and reduce the distance between successive LEDs slightly
change the backing screw mount
add more buffer space around the inter locking tabs at the ends
reduce the number of cable tie loops, move them more into the centre, and make them taller
Also on my list:
add buttons / rotary encoder
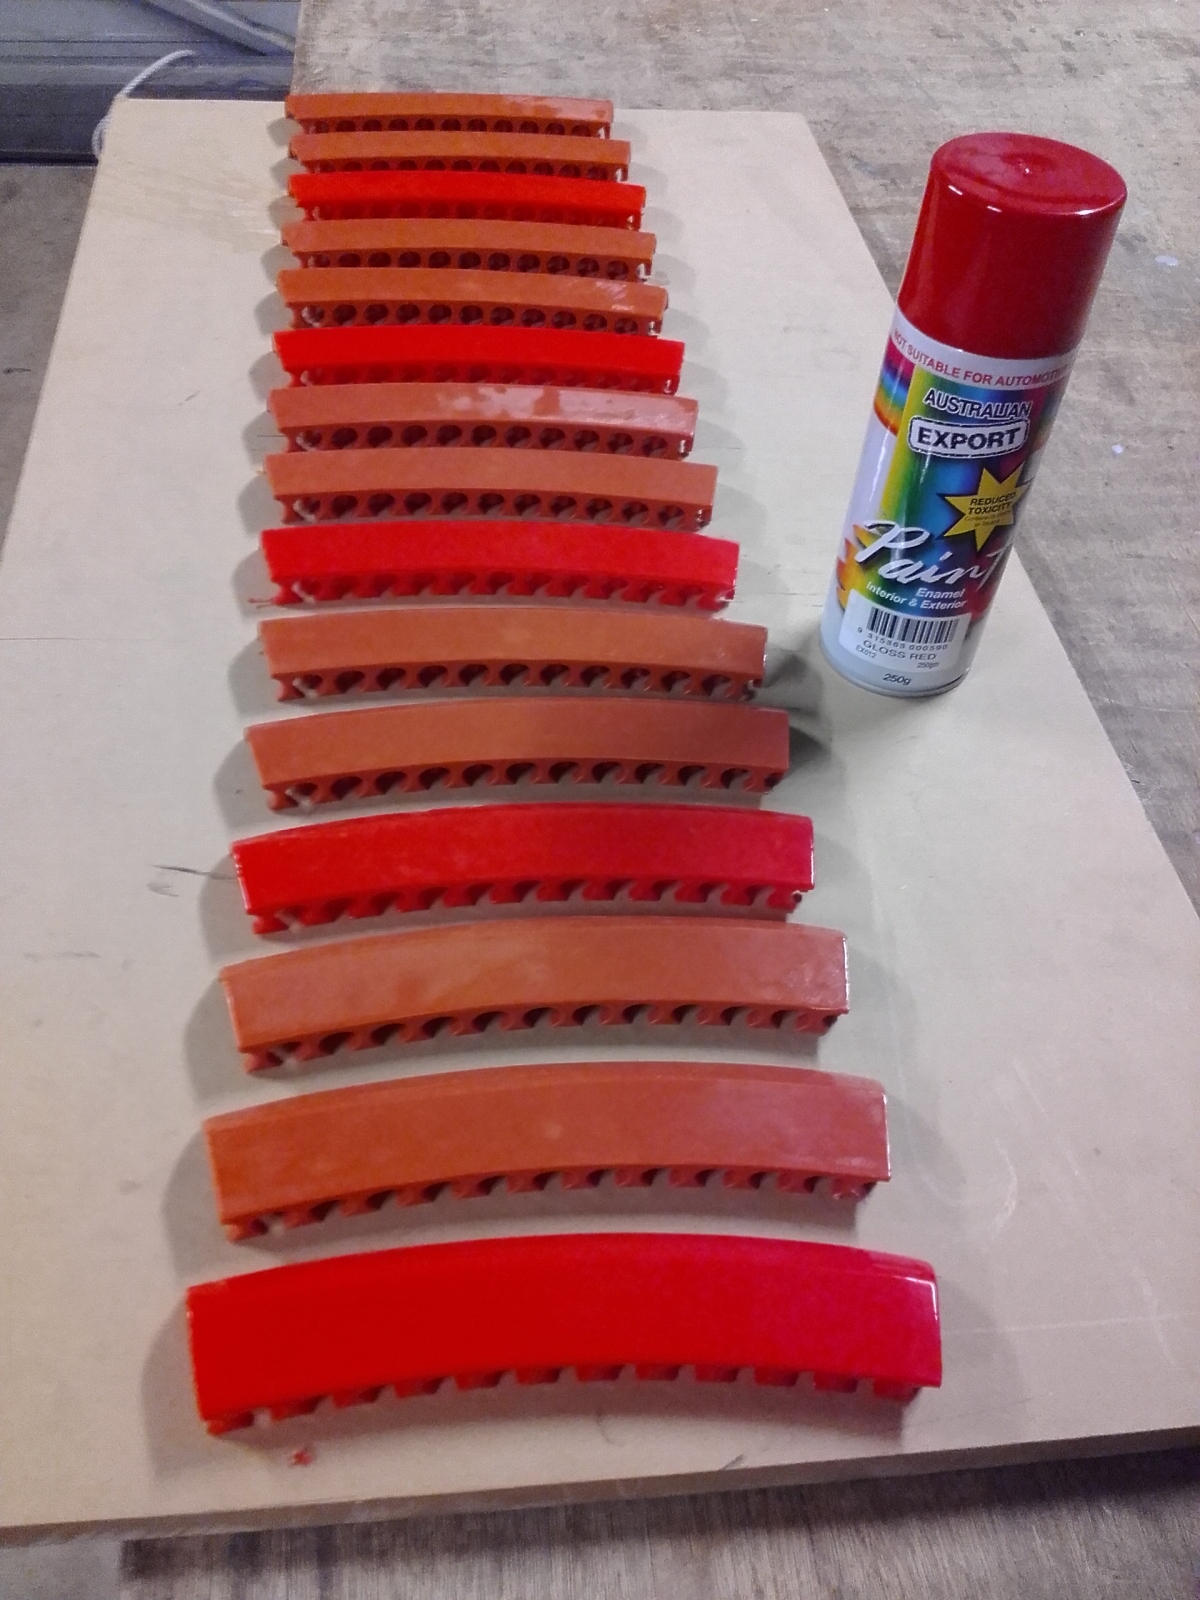
test different strength paints to coat the test tubes a little
I do not have access to the LEDs now, but it is basically part way after the LED before the edge with the next one. This picture looks very similar, and the cap is visible to the right of each LED.
The current sketch (*) can respond to three buttons to control hour, minute, seconds.
Also, one can always attach to the USB socket and make adjustments from the arduino IDE.
(*) I could not create a makehackvoid repository to I now own it. We need to share it better.
The last couple sessions the topic of what ‘functionality is desirable’ has come up.
Options / ideas I remember:
Day light savings,
Wireless sync with time server,
Buttons to set he time,
Set the time via usb reprogramming,
Date display,
Battery power backup,
Display style / mode changing,
Brightness setting,
I’m sure there are plenty that I am forgetting.
What are your ideas / would you like to do?
I don’t mind what features are decided on. Just let me now if anything changes the design of the frame; like buttons, or a need to mount anything in a particular way, ect.